Lamp shades collect more than dust: they trap cooking residue, pet hair, smoke, and the faint grime that slowly dulls a room. Knowing how to clean lamp shades without ruining the fabric, paper, or trim is mostly about matching the method to the material, then staying gentle enough to preserve shape and color.
In this guide, I’ll walk through the safest ways to dust, spot-clean, and deep-clean different shades, plus the mistakes that cause yellowing, warping, or streaks.
The fastest way to keep lamp shades looking fresh
- Start with the material; paper, silk, and fabric do not tolerate the same amount of moisture.
- For routine care, dust weekly with a microfiber cloth, lint roller, or vacuum brush attachment.
- Use a barely damp cloth for washable surfaces, and blot stains instead of scrubbing them.
- Paper shades should stay dry; fabric shades can sometimes be washed, but only if the care label allows it.
- Deep cleaning works best on removable glass, plastic, or clearly washable fabric shades.
Match the method to the material first
I start with the shade’s construction, because the wrong cleaner can do more damage than the dirt itself. A fabric drum shade can usually handle more attention than a paper or silk shade, while glass and plastic tolerate a straightforward wash.
| Shade material | Safest cleaning approach | What to avoid | Best use case |
|---|---|---|---|
| Fabric | Microfiber cloth, lint roller, vacuum brush attachment, and spot cleaning with mild detergent | Soaking an unlabeled shade, harsh bleach, aggressive scrubbing | Dust, fingerprints, and light stains |
| Paper | Dry microfiber cloth, soft brush, or lint roller | Water, steam, and heavy pressure | Loose dust and surface debris |
| Silk | Very gentle dry dusting; professional cleaning if stained | Soaking, rubbing, and strong detergents | Delicate decorative shades |
| Glass or plastic | Warm water, mild dish soap, rinse, and a lint-free dry cloth | Abrasive pads and anything that leaves streaks | Grease, fingerprints, and heavier grime |
| Pleated or fringed | Soft paintbrush, lint roller, and low-suction vacuum if the trim is secure | Pulling on trim or over-wetting the folds | Dust trapped in seams and folds |
If you remember only one thing, make it this: use the least aggressive method that will still remove the soil. That approach protects the finish, and it also keeps trim, glue lines, and stitched edges from failing early. Next, it helps to handle the loose dust before you reach for any liquid at all.
The safest weekly dusting routine
For everyday care, I prefer a dry pass first. Weekly dusting keeps buildup from getting embedded in the weave or settling into the folds, and it takes far less time than trying to rescue a neglected shade later.
- Turn off the lamp and let the bulb cool completely.
- If the shade lifts off easily, remove it so you can reach the top and inside surfaces.
- Wipe the outside and inside with a clean microfiber cloth.
- Use a vacuum with a brush attachment for more stubborn dust, keeping suction low on delicate trims.
- For pleats, seams, and gathered fabric, use a soft paintbrush to loosen dust without tugging the material.
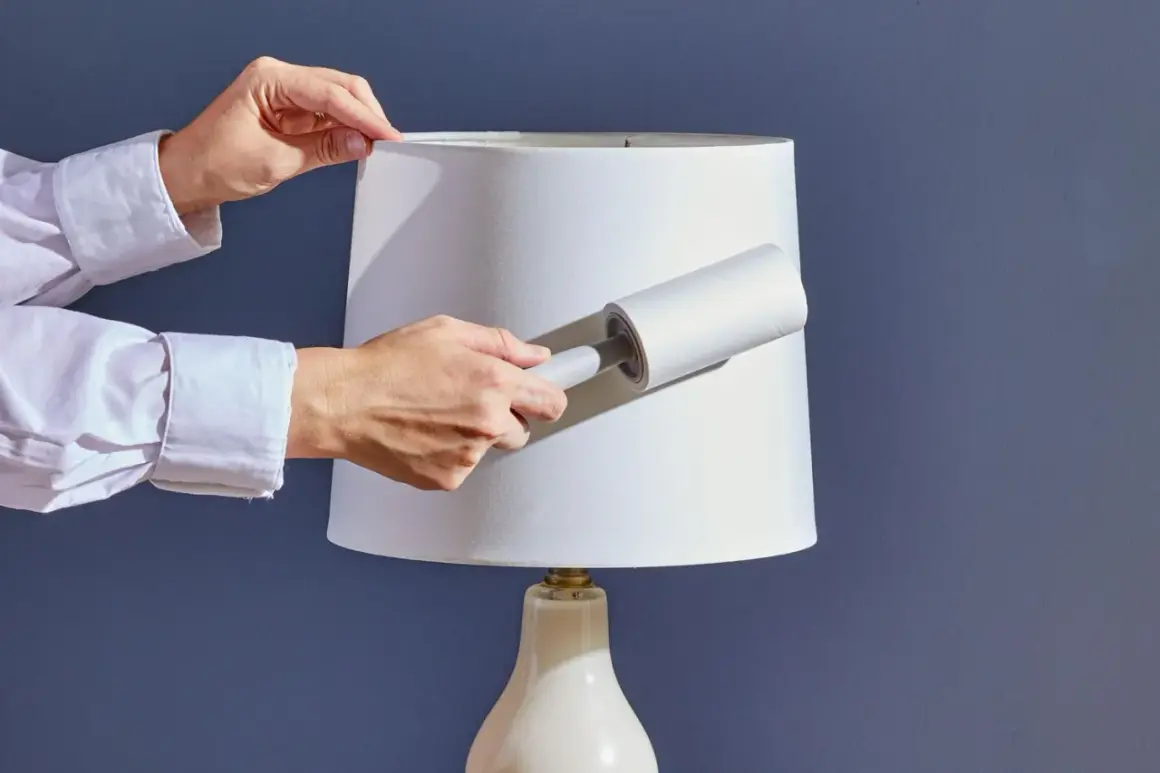
- Finish with a lint roller if the shade attracts pet hair or textile fibers.
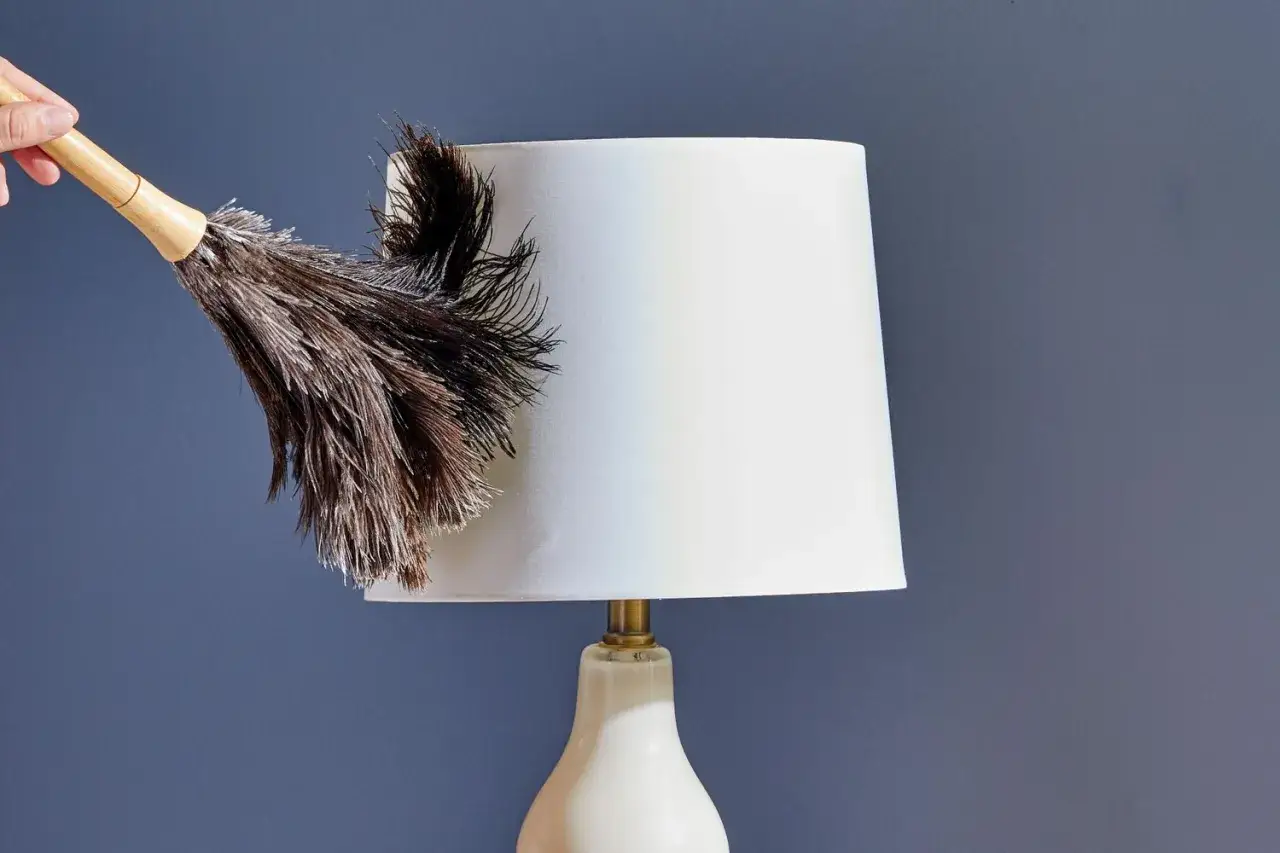
I avoid the old habit of flicking dust off with a hand duster and calling it done. It often just moves particles into the air and back onto the room’s surfaces. Once the loose dust is gone, the next challenge is treating marks before they become permanent stains.
How to treat stains without spreading them
When a lamp shade has a spot, I work from dry to damp and from mild to stronger only if needed. First lift any solids, then dab with a clean cloth slightly moistened with water and a drop of gentle dish soap or fabric detergent; blot from the outside of the stain inward so the mark does not spread.
- Fingerprints and light smudges: a barely damp microfiber cloth, followed by a dry pass.
- Greasy residue: a tiny amount of dish soap in warm water, then immediate drying.
- Smoke film or general dullness: repeat light dusting and spot cleaning rather than scrubbing harder.
- Ink, dye transfer, or old water marks: stop early if the color begins to lift, because forcing it usually enlarges the stain.
Paper shades are the exception here. If moisture is involved at all, it should be extremely limited, and in many cases I would rather stop at dry cleaning than risk a permanent ring. From there, the next step is knowing when a full wash is actually worth it.
When a full wash makes sense
A full wash is only appropriate when the shade is clearly washable and removable. That usually means a fabric shade with a care label that allows water, or a glass or plastic shade that is meant to be cleaned like any other hard surface.
For washable fabric shades, I use a basin rather than a sink full of aggressive movement. The goal is to loosen dirt, not to beat the shape out of the shade.
- Remove the bulb and let everything cool.
- Take the shade off the lamp and dust it first.
- Fill a basin with warm water and a gentle detergent.
- Soak the shade for about 15 minutes if the label allows it.
- Gently work on any stubborn spots with a soft cloth.
- Drain the basin, refill with clean water, and rinse until the soap is gone.
- Shake off excess water, then towel the shade lightly and let it air-dry fully before reinstalling it.
For glass and plastic shades, the process is simpler: wash with mild dish soap, rinse well, and dry thoroughly to prevent water spots. The drying step matters more than most people think, because streaks and trapped moisture are what make a freshly cleaned shade look worse than before. That leads directly to the mistakes that undo the work.
The mistakes that damage shades fastest
Most cleaning problems come from trying to move too quickly or using more force than the material can handle. I see the same errors over and over, and they are easy to avoid once you know what they are.
- Cleaning while the bulb is still hot, which can warp delicate materials and make handling unsafe.
- Using too much water on fabric or any water on paper, which can leave rings, sagging, or permanent staining.
- Scrubbing a spot hard instead of blotting it, which tends to spread the stain deeper into the surface.
- Leaving the shade damp on the lamp, where heat can set stains and distort the shape.
- Using bleach, ammonia, or abrasive pads, which can discolor finishes and weaken adhesive bonds.
- Forgetting the inside of the shade, which often collects just as much dust as the outside and affects the quality of the light.
Once those habits are out of the picture, keeping shades presentable becomes much easier. The last step is building a simple maintenance rhythm that fits the room, not fighting a deep-clean emergency every few months.
The cleaning rhythm that keeps a shade from looking tired
I treat lamp shades like any other decorative surface that changes the feel of a room: small, regular care beats occasional rescue work. A weekly dusting takes only a few minutes, while a deeper clean is usually something I reserve for visible soil, seasonal refreshes, or a shade that sits close to a kitchen, entryway, or pet bed.
If the room gets heavy use, dust more often. If the shade is delicate, keep your routine dry and gentle. Once you know how to clean lamp shades safely, the real win is consistency: a short maintenance habit prevents the yellowing, dust buildup, and dullness that make a shade look older than it is.