Loose cords can make an otherwise beautiful desk feel unfinished, and they also get in the way when you plug in a laptop, charge a phone, or raise a standing desk. The practical answer to how to hide cords on desk layouts is to treat the workspace like a small cable route, not a pile of wires. In this guide, I break down the methods that actually work, how to choose the right hardware, and how to keep the setup easy to use every day.
The quickest route to a cleaner desk
- Start with the cable path first. Where the cords travel matters more than which accessory you buy.
- Under-desk trays and cable boxes do the heavy lifting. They hide the power strip, adapters, and excess length.
- Clips and sleeves finish the job. They clean up the visible stretch between the device and the hidden power source.
- Standing desks need extra slack. Without a service loop, cords pull tight every time the desk moves.
- Most simple setups stay affordable. Small fixes often cost under $40, while a more complete setup usually stays under $100.
- Built-in cable management is worth paying for. Grommets, rear channels, and modesty panels make the final result look integrated.
Plan the cable path before you buy anything
I always start by mapping the desk like a miniature utility route. That means identifying every device on the surface, where each plug has to end up, and which cords can stay together. Power cables, USB lines, monitor leads, Ethernet, and charger bricks all behave a little differently, so they should not be treated as one generic bundle.
The quickest way to make a desk look messy is to buy accessories before deciding where the main cable run should go. I prefer to answer three questions first: what must stay visible, what can disappear under the desk, and what needs to move when the desk height changes. If the desk is fixed, the route is simpler. If it is adjustable, I leave a service loop, which is just a small amount of extra cable slack that prevents strain at the plug.
- Keep reach in mind. Power strips, USB hubs, and chargers should stay accessible even when hidden.
- Separate moving and static cables. A monitor cable and a wall charger should not always share the same route.
- Measure once. A quick tape measure check tells you whether a sleeve, tray, or raceway will fit.
Once the route is clear, choosing the actual hardware becomes much easier, and that is where the visible clutter starts to disappear.
The best ways to hide cords on a desk
There is no single best product here. The right choice depends on whether you want to hide a power strip, tame a charger cluster, or disappear the entire run behind the desk. In practice, I usually combine two or three methods instead of relying on one accessory to do everything.
| Method | Best for | Typical cost | What it does well | Main limitation |
|---|---|---|---|---|
| Adhesive cable clips | Charging cables, lamp cords, quick cleanup | $5 to $15 | Holds individual cords along the back edge or leg | Not ideal for heavy bundles or rough surfaces |
| Cable sleeves | Several cords that travel together | $10 to $25 | Makes multiple cords look like one neat line | Still leaves the bundle visible if the route is exposed |
| Under-desk cable tray | Power strips, adapters, mixed device setups | $15 to $40 | Moves the bulky part of the system out of sight | Requires mounting and a little planning |
| Cable management box | Power strips and charger bricks | $15 to $30 | Hides the messiest cluster in one container | Can overheat if the box is sealed too tightly |
| Raceway or cord cover | Wall-to-desk runs and perimeter lines | $10 to $30 | Blends cords into the edge of a wall or desk | Best for straight lines, not complicated routing |
| Grommet or pass-through | New desks or desks you are willing to modify | $5 to $25 for hardware | Creates the most built-in look | Needs the right desk material and sometimes drilling |
If I had to pick only one upgrade for most home offices, I would start with an under-desk tray. It removes the power strip from sight and gives the rest of the routing a place to land. After that, clips or a sleeve can clean up the final visible stretch without adding much bulk.
The main idea is simple: hide the bulky hardware first, then refine the parts the eye still sees. That sequence keeps the desk neat without making maintenance annoying.
Hide the cords step by step
Once the route and hardware are clear, the actual installation is straightforward. I prefer to work from the outlet inward, because that prevents the common mistake of ending up with a beautiful cable bundle that still hangs awkwardly at the wall.
- Unplug everything and sort the cables by function. Put power cords, data cables, and temporary charging cables into separate groups.
- Place the power strip where it can disappear. Under the desk is usually best, as long as you can still reach the switch and outlets.
- Run one main cable spine down the back or side of the desk. That is the visible path the rest of the cords will follow.
- Bundle only the cords that naturally travel together. A monitor and its power lead can share a route, but a loose charger brick often needs room to breathe.
- Add slack where movement happens. This matters most on sit-stand desks. A tight cable will eventually pull, loosen, or wear at the connector.
- Test the full range of motion. Raise the desk, lower it, swivel the chair, and check the setup from sitting height before calling it finished.
When I work on a standing desk, I always do a full movement test. If the cords stay neat at both heights, the setup is actually finished. If they only look good at one position, the system is not ready yet.
That is why the next decision is less about style and more about the kind of desk you already own.
Choose the right fix for your desk type
Small desks and apartment corners
On a compact desk, I keep the solution lean. A small tray, two or three clips, and maybe one short sleeve are usually enough. Big boxes can eat up the little space you have, so a minimal setup often looks cleaner than a heavily accessorized one. If the desk sits near a wall outlet, a short, direct route matters more than hiding every inch of cable.
Standing desks
Standing desks need movement-aware cable management. I prefer a tray plus a vertical cable spine or a neat rear drop, because those systems handle height changes better than loose bundles. Leave enough slack for the desk at its highest point, and do not force connectors to take the stress. A small mistake here turns into a daily annoyance very quickly.
Gaming desks and multi-monitor setups
These desks collect the most clutter because they usually support monitors, speakers, headsets, webcams, chargers, LED strips, and sometimes a docking station. I group devices by function and route each group back to one power source. Cable sleeves help here because they stop the back of the desk from turning into a loose rope bundle. If there is an Ethernet line, I keep it separate from the main power cluster whenever possible, which makes troubleshooting simpler later.
Read Also: Pet Hair on Couch? Remove It Fast & Keep It Clean!
Shared family or office desks
Shared desks need a little more flexibility. Accessibility matters, because someone else will eventually plug in a laptop, phone, or printer. I use trays and boxes that can be opened quickly, and I avoid fixes that are so permanent they become frustrating to undo. Labels help more than people expect, especially once the desk is used by more than one person.
When the solution matches the desk type, the whole setup feels intentional instead of improvised. The remaining problems are usually small, but they can still undermine the result if you ignore them.
Mistakes that make a tidy setup look worse
I see the same few mistakes over and over, and most of them are easy to avoid once you know what to look for.
- Hiding the strip before checking airflow. A sealed box with warm adapters inside is a bad tradeoff.
- Bundling every cable together. It looks neat at first, but it usually creates tension or makes one cable hard to replace.
- Using adhesive on dirty or textured surfaces. Clips fail when the desk edge has dust, oil, or a rough finish.
- Ignoring the wall-to-desk run. Even a perfect under-desk setup looks unfinished if one long cord is still visible across the room.
- Forcing sharp bends at plugs. Tight angles at the connector are hard on the cable and make the route look improvised.
- Making the system hard to access. If nobody can reach the power strip or charger, the desk will slowly drift back into clutter.
My rule is simple: if a hiding method makes the desk less usable, it is probably too aggressive. The best cable management disappears visually without becoming a maintenance headache.
That balance is what separates a quick cleanup from a desk that actually feels built in.
The details that make hidden cables feel built in
If I were choosing a new desk today, I would pay attention to the furniture itself before buying extra accessories. A desk with a rear cable channel, a grommet hole, a modesty panel, or a little clearance under the top usually needs fewer add-ons later. That matters because the best cable management is often the one the furniture already helps you do.
A few finishing details make a bigger difference than most people expect:
- Match the hardware to the desk finish. Black-on-black or white-on-white looks quieter than mixed finishes.
- Keep the power source near the hidden route. Long visible runs are harder to disguise than short hidden ones.
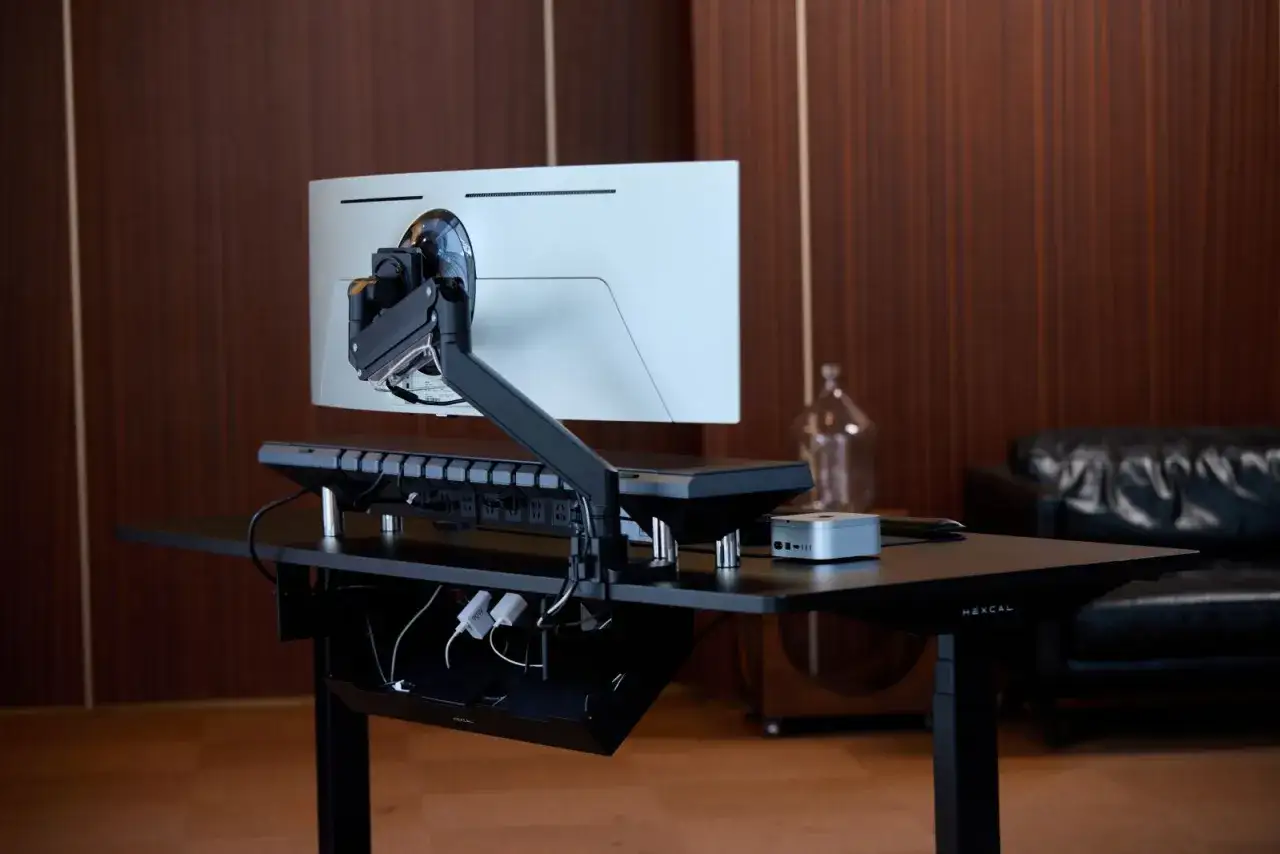
- Use the monitor arm if the setup calls for it. Many arms let the cable disappear into the support instead of hanging behind the screen.
- Leave room for cleaning. Dust piles up quickly behind desks, and a system that is impossible to wipe down will not stay neat for long.
- Recheck the layout after a week. Small shifts happen once you start using the desk normally, and they are easier to fix early.
The cleanest desk setups are rarely the most complicated ones; they are the ones where the power strip, charging cables, and data lines each have a clear job and a clear route. If you start with the path, then add one or two well-chosen accessories, you can hide most desk cords without making the workspace harder to live with.