Refinishing a worn table is one of the fastest ways to bring warmth back into a dining room or workspace, but the result depends on more than sanding until the old color disappears. Knowing how to refinish a table is really about reading the surface correctly, choosing the right prep sequence, and sealing it so daily use does not undo the work. In this guide, I walk through the decisions that matter most, from identifying solid wood versus veneer to choosing a finish that can handle spills, heat, and repeated cleaning.
What to know before you start sanding
- Solid wood is the easiest surface to refinish; veneer needs a lighter touch, and laminate usually should not be sanded down to bare material.
- A basic U.S. supply run usually falls around $40 to $150 if you already own the main tools, and more if you need to buy a sander.
- Most table projects take one weekend of active work, plus several days to a few weeks of curing time.
- Thin coats and dust control matter more than forcing speed with heavy sanding or heavy finish application.
- If the table has deep damage, loose joints, or a thin veneer, inspect first and repair before you chase color or sheen.
Identify the surface before you sand
The first mistake I see is people treating every table like solid oak. That is how veneers get burned through and laminate gets ruined. Before I touch a sander, I check the edge of the top, the underside, and any worn chips to see what I am actually working with.
| Surface type | Can it be refinished? | What I do | Main risk |
|---|---|---|---|
| Solid wood | Yes | Strip or sand back to fresh wood, then stain and seal | Over-sanding edges or uneven stain absorption |
| Wood veneer | Sometimes | Use light sanding, fine grits, and extra care near edges | Sanding through the veneer layer |
| Laminate or plastic-coated top | Usually no | Clean thoroughly and repaint only with the right primer and topcoat | Trying to sand to bare wood that is not there |
| Painted wood | Yes | Remove the paint or scuff it fully before refinishing | Old paint hiding dents, chips, or damaged filler |
If the table is old enough to possibly carry lead paint, I stop and test before sanding aggressively. That is not dramatic, just practical. Once I know the surface and its limits, I can choose the right tools instead of hoping the finish will forgive a bad start.
Gather the tools that make the job cleaner
I do not need a shop full of equipment to refinish a table well, but I do need the right few items. The biggest difference between a smooth result and a frustrating one is usually dust control, grit progression, and a finish that suits the table’s real use. For a typical dining table, I would budget for the basics below.
| Item | Why I use it | Typical U.S. cost |
|---|---|---|
| Random orbital sander | Speeds up the flat top without leaving obvious swirl marks | $40 to $120 if you need one |
| Sandpaper or sanding discs | Progressive grits let me move from rough removal to smooth finishing | $8 to $20 per pack |
| Scraper or plastic putty knife | Helps lift loose finish without gouging the wood | $5 to $15 |
| Wood filler or epoxy | Repairs dents, open grain, and small edge damage | $8 to $20 |
| Cleaner, rags, and tack cloth | Removes grease and sanding dust before stain or finish | $5 to $15 |
| Stain and topcoat | Controls color and protects the surface from daily wear | $20 to $65 total |
| Gloves, respirator, painter’s tape | Makes the job safer and cleaner | $15 to $35 |
My own rule is simple: if I already own the sander, a solid refinishing kit often stays under $100. If I have to buy everything, I expect the total to land closer to $150 to $250 depending on the finish system. Either way, the finish itself is not where I like to save money, because that layer is what the table lives or dies on.
Strip, sand, and repair in the right order
This is the part most people picture when they think about refinishing, but order matters more than effort. I start with the messiest step only if the old coating truly needs to come off. Then I move through sanding and repairs in a sequence that keeps the surface flat and avoids making the damage worse.
- Clean the table first. I wipe away grease, wax, and sticky residue with a gentle cleaner so I am not sanding dirt into the wood.
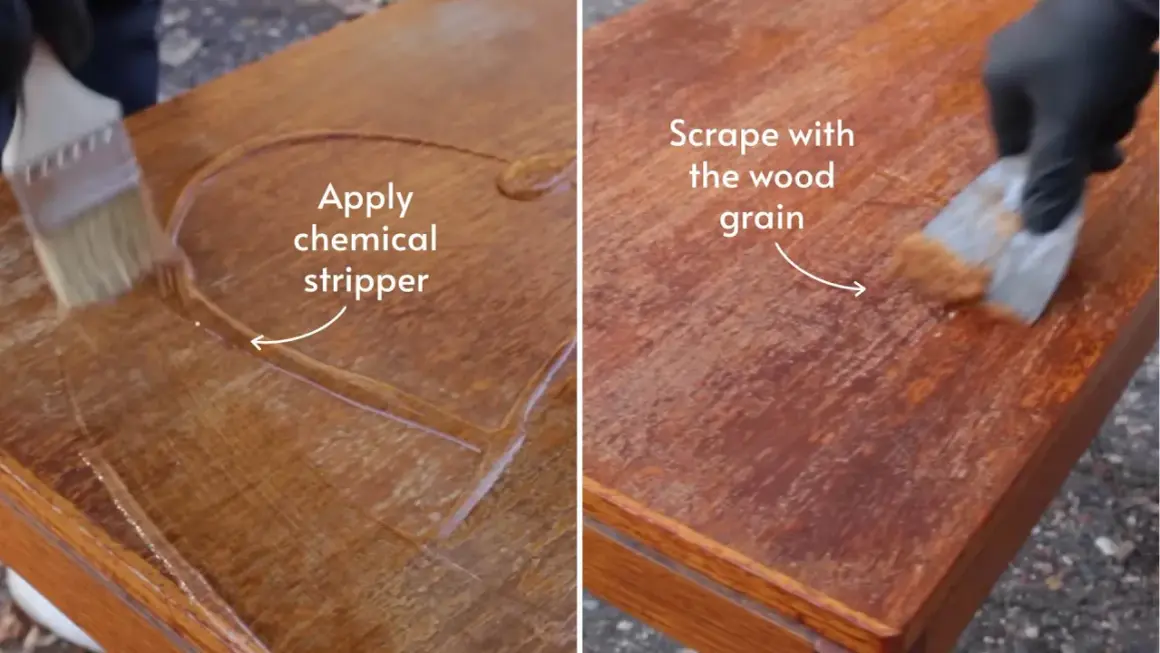
- Decide whether stripping is worth it. If the old finish is thick, peeling, or layered with paint, I use a chemical stripper or a scraper to lift the bulk of it. If the coating is thin and stable, sanding alone is often enough.
- Sand in stages. I usually start with 80 or 100 grit only when I need to remove a stubborn finish, then move to 120, then 150 or 180, and finish around 220. On veneer, I skip the aggressive grits unless I am absolutely sure there is enough thickness left.
- Keep the sander moving. I never park a sander in one spot. That is how you get dips, rounded edges, and visible low spots that stay obvious even after staining.
- Repair before the final pass. I fill dents, chips, open joints, and nail holes before the last sanding stage so the repair blends into the surface instead of sitting on top of it.
- Vacuum and wipe every inch. Dust left in corners, grain lines, or trim will show up under stain as rough patches or pale specks.
Two rules save me from most refinishing disasters: I sand with the grain whenever possible, and I stop as soon as the surface looks even. A tabletop does not need to feel polished like glass before stain, but it does need to feel consistent. If the wood is too smooth, some stains bite poorly; if it is too rough, every flaw becomes louder.
Choose the finish that matches the table’s job
The best finish depends on how the table is used, not just how it looks in a sample photo. A side table in a low-traffic room can tolerate a softer look, while a dining table needs more resistance to water rings, plates, and cleaning. I usually choose the finish last, after I know what the wood needs and what kind of life the table will live.
| Finish type | Look | Durability | Drying speed | Best use |
|---|---|---|---|---|
| Water-based polyurethane | Clear, low-amber, modern | High | Fast | Dining tables when I want a lighter wood tone |
| Oil-based polyurethane | Warmer, richer, slightly amber | High | Slower | Busy tables when I want a deeper tone |
| Hardwax oil | Natural, matte, hand-rubbed | Moderate | Moderate | Tables where feel matters as much as sheen |
| Penetrating oil | Soft, low sheen, understated | Lower | Moderate | Low-traffic pieces or furniture that can be refreshed often |
| Paint plus topcoat | Opaque, decorative | Depends on topcoat | Varies | When I want to hide mismatched grain or damage |
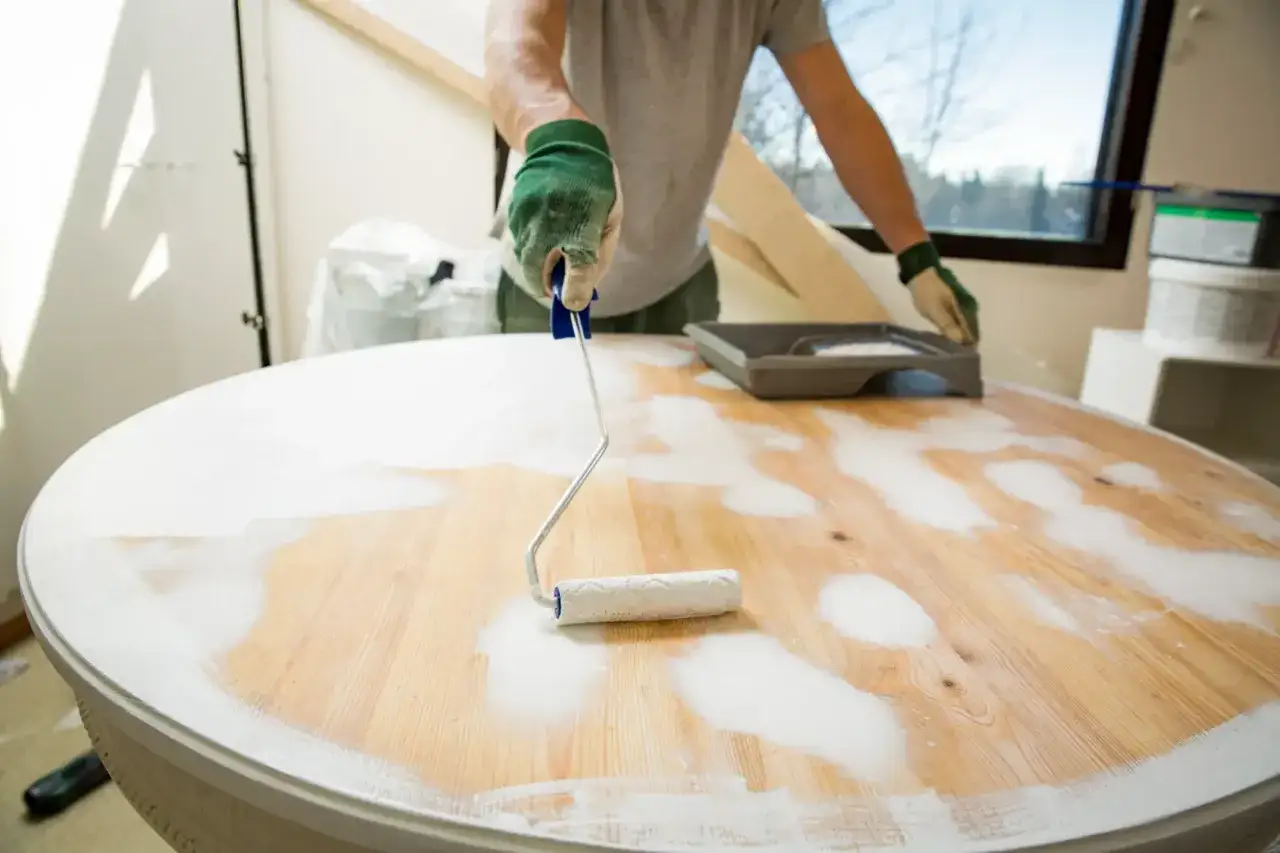
For a dining table, I generally lean toward a durable clear topcoat and keep stain simple unless the color really needs changing. If the grain already looks good, I would rather let the wood speak for itself than bury it under a heavy color. Thin coats are the real secret here; one thick coat usually creates more problems than two careful ones.
Let the finish dry, cure, and settle
Drying and curing are not the same thing, and that distinction matters more than most people think. A table can feel dry to the touch long before it is ready for plates, vases, or a daily wipe-down. If I rush this stage, I risk imprint marks, cloudy spots, or a finish that feels hard for a week and then dents anyway.
| Stage | Typical timing | What it means |
|---|---|---|
| Dry to touch | 2 to 6 hours for many water-based products, longer for oil-based products | The surface feels dry, but it is not ready for use |
| Recoat window | About 4 to 24 hours depending on the product | The next coat can bond properly without cloudy buildup |
| Light use | 24 to 72 hours | Careful use is possible, but I still avoid heavy impact and standing moisture |
| Full cure | About 7 to 30 days | The finish reaches its real hardness and chemical resistance |
If I need the table back in service quickly, I plan the project around at least a couple of days without heavy use and then stay patient for the full cure. I also keep the room at a comfortable indoor temperature and avoid stacking objects on the surface too early. That small bit of restraint pays off later when the tabletop stays clear and even instead of wearing its first shortcuts forever.
The small habits that keep a refinished table looking good
Once the surface looks finished, the job is not really over. I do a final inspection under angled light, feel for rough edges, and check that no dust nibs or dull patches are hiding near the apron or corners. If something feels off now, it will feel worse after the table starts collecting daily use.
- Use coasters and trivets. A hot pan or sweating glass can mark a finish faster than most people expect.
- Add felt pads under decor. Ceramic bowls, lamps, and planters can scratch a fresh surface surprisingly quickly.
- Clean gently. A damp cloth is usually enough; I avoid harsh sprays until I know the finish is fully cured and compatible.
- Keep sunlight in mind. Strong direct light can shift color over time, especially on stained wood.
- Skip unnecessary wax. On many polyurethane finishes, wax adds maintenance without adding much protection.
When I step back, the best refinished tables usually are not the most dramatic ones. They are the ones where the surface looks even, the color suits the room, and the finish quietly handles real life without demanding constant attention. If you want the project to last, aim for durable, not precious, and the table will reward you every time it gets used.