The stairwell vs staircase distinction sounds small, but it changes how you plan a remodel, what you can safely change yourself, and where the real budget will go. In a house, one term describes the opening and shaft; the other describes the actual run of stairs and its built components. If you are updating an older home, that difference affects lighting, storage, code compliance, and the way the space feels from the moment you walk in.
The short version for remodel planning
- A staircase is the steps and structure you use; a stairwell is the vertical space that contains them.
- Finish work such as paint, runners, treads, and railings usually belongs to the staircase.
- Changes to the opening, ceiling, framing, or fire separation usually involve the stairwell and may need permits.
- In many U.S. homes, a useful planning baseline is 36 inches of clear width, about 6 ft 8 in of headroom, and a handrail height around 34 to 38 inches.
- DIY-friendly upgrades can make a big visual difference, but structural changes are not the place to improvise.
What each term means in a house
I keep the terms separate because they point to different parts of the project. A staircase is the physical set of steps, landings, rails, balusters, newel posts, treads, risers, and stringers. A stairwell is the vertical opening or shaft that contains or surrounds that staircase, often connecting more than one floor and shaping how light and sound move through the house.
| Term | What it usually refers to | Renovation focus | Example |
|---|---|---|---|
| Staircase | The steps and their visible structure | Refinishing, railing updates, runners, lighting, trim | Replacing worn treads with oak or adding a new handrail |
| Stairwell | The opening, shaft, or enclosed space around the stairs | Framing, drywall, headroom, enclosure, fire separation | Widening the opening or closing it in for better sound control |
| Stairway | A broader general term for the stairs and their setting | Context-dependent | “The back stairway needs repair” |
In everyday speech, people often say “stairs,” “stairway,” and “staircase” as if they mean the same thing. In renovation work, that loose language can hide a real difference in scope, which is why I start by identifying the structure before I talk finishes or fixtures. That scope check leads naturally into budget and build decisions.
Why the distinction matters during renovation
Once the stairwell vs staircase distinction is clear, the rest of the project becomes easier to scope. If you are replacing treads, refinishing wood, upgrading balusters, or adding a runner, you are mostly working on the staircase. If you are widening an opening, changing the ceiling above the run, or enclosing the area for fire safety, you are in stairwell territory and the job becomes structural rather than cosmetic.
- Finish work changes look and feel without moving the framing.
- Structural work changes the shape, height, or enclosure of the opening.
- Permit work is more likely when you touch load-bearing framing, egress, or fire-rated construction.
- Budget work gets more complicated once demolition, patching, and inspections enter the picture.
As a rough 2026 planning guide, simple refinishing often stays under $1,000, basic repair tends to land in the low thousands, and a full staircase remodel can stretch from about $1,000 to $30,000 depending on materials, labor, and whether framing changes are involved. The biggest jump usually comes from hidden work, not the pretty surface you see at the end. That is why the next thing I check is code and geometry.
What code and dimensions usually decide
Stairs are one of the most code-driven parts of a home because small measurement errors become safety problems fast. In many U.S. residential projects, the usual planning targets are similar even when local amendments differ, so I start with those numbers before I choose materials.
| Feature | Common planning benchmark | Why it matters |
|---|---|---|
| Clear width | About 36 inches minimum in many residential jurisdictions | Helps people pass safely and makes moving furniture less painful |
| Headroom | About 6 ft 8 in | Prevents collisions and failed inspections |
| Handrail height | About 34 to 38 inches above the nosing | Keeps the rail usable for most adults |
| Riser and tread | Often around a 7 3/4 in max rise and 10 in min tread in many codes | Controls comfort, stride, and safety |
| Landings | Typically as wide as the stair and deep enough to stand or turn safely | Reduces awkward turns and helps with doors |
| Lighting | Bright enough to read tread edges clearly at night | Improves safety far more than decorative lighting alone |
The numbers are not there to make the project difficult. They are there to prevent a stair that looks right on paper but feels tight after drywall, flooring, or trim go back in. Nosing means the front edge of the tread, and that edge is where many measurements are taken. If your remodel changes the floor build-up or the ceiling below, measure again before ordering rails or treads. With the geometry locked in, the fun part is deciding what you can improve yourself.
DIY upgrades that make the biggest visual difference
If the framing is sound and the geometry already works, I would spend my DIY energy on the parts people actually see and touch. These are the upgrades that tend to deliver the biggest design payoff without turning the project into a structural rebuild.
- Refinish the treads if the wood is solid. A clean sand-and-seal job can make an older staircase feel intentional instead of tired.
- Paint the risers and surrounding walls in a durable finish. Light-colored risers open the space; darker tones can make a wide run feel grounded.
- Add a runner when you want warmth, grip, and sound control. It is one of the easiest ways to make a staircase feel finished.
- Upgrade the railing only if the replacement stays comfortable to hold and code-compliant. A handrail that looks sleek but feels awkward is a bad trade.
- Improve the lighting with a wall sconce, ceiling fixture, or step lighting. Good light does more for safety than most decorative changes.
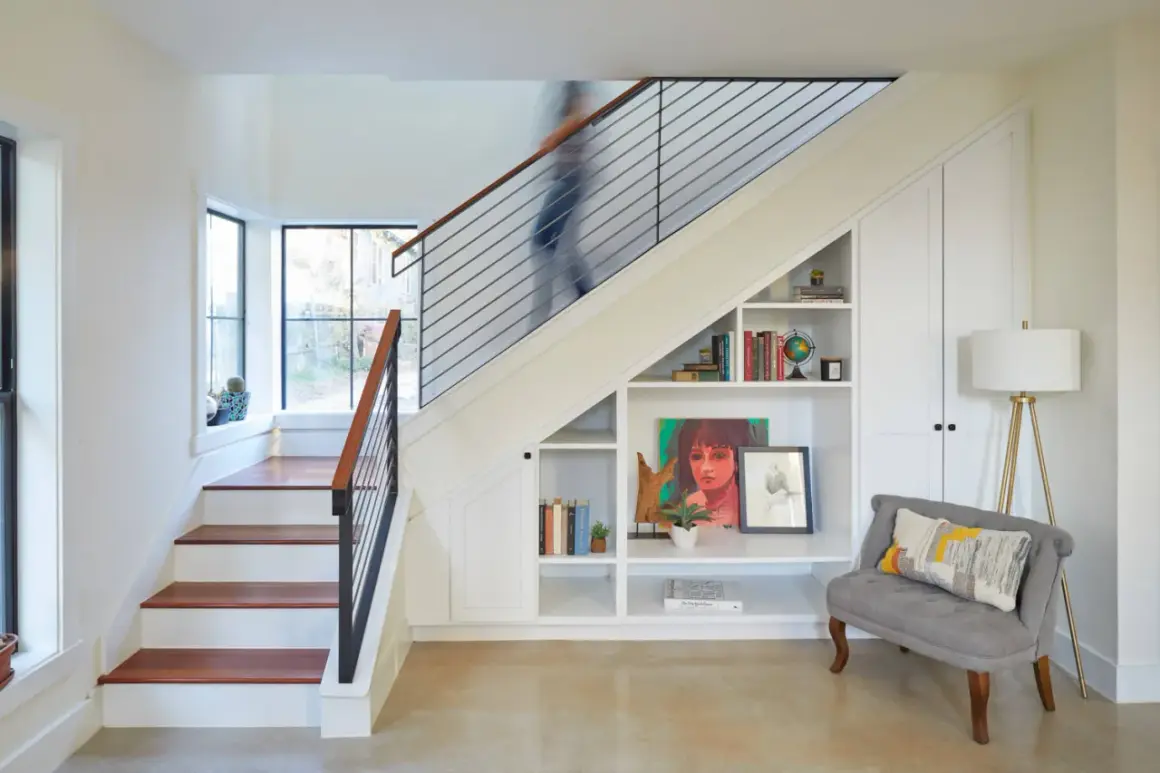
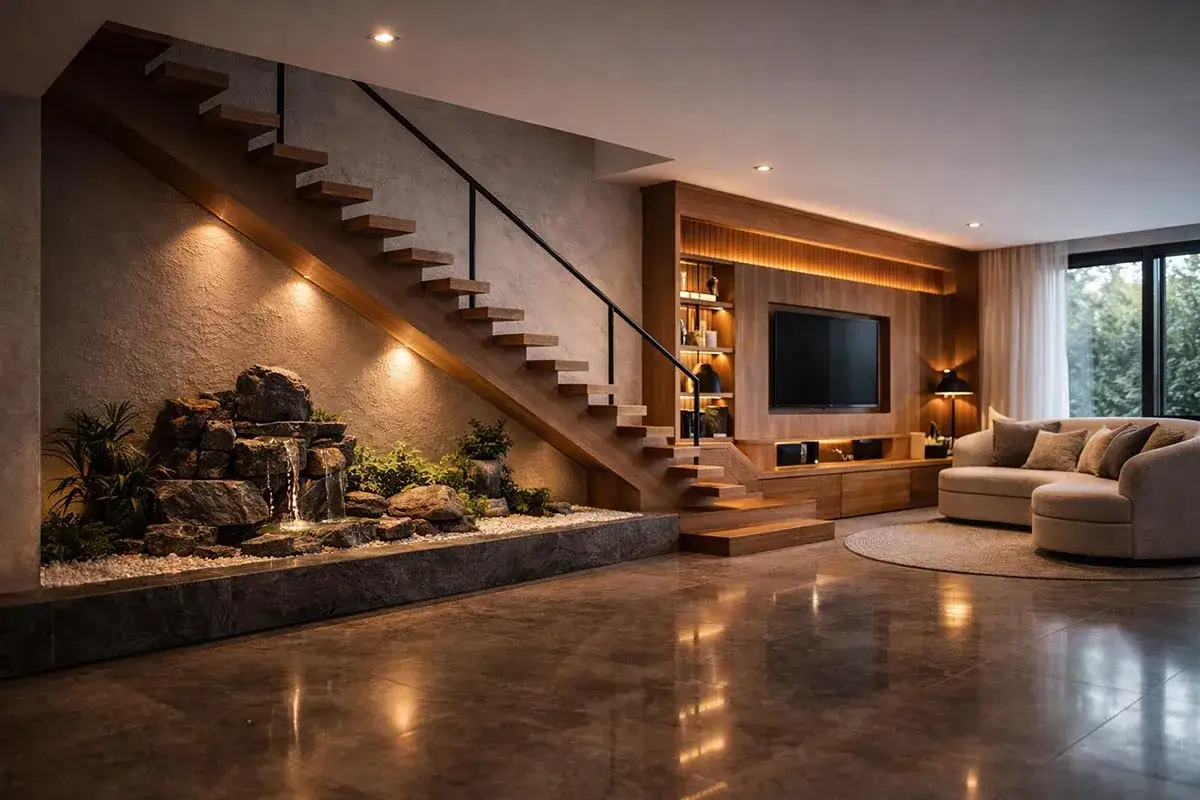
- Use the space under the stairs for closed storage, a bench, or a compact drop zone. That is dead space until you give it a job.
I like this stage because it can change the mood of the house fast. A staircase close to the entry is part architecture and part furniture; the finish choices should support the rest of the room, not fight it. Once the visible work is clear, the real mistakes become easier to spot.
Common mistakes that create rework
Most stair mistakes are not dramatic. They are small oversights that force you to redo work or call an inspector back. I see the same few problems repeatedly:
- Measuring before the final floor build-up is known. A half-inch of flooring can change headroom, riser math, and railing height.
- Choosing finishes before solving structure. If the treads squeak, the stringers flex, or the opening is off, cosmetic work will not fix it.
- Ignoring enclosed stairwell rules. Fire separation means the walls, doors, or ceiling are designed to slow fire and smoke movement, so those surfaces are not always fair game for a casual demo.
- Lighting the stair for style instead of visibility. Beautiful fixtures do not help if they leave the tread edges in shadow.
- Forgetting the landing and door swing. A narrow landing that works in a sketch can feel awkward or unsafe once people start using it every day.
The most expensive errors are the ones you do not see until the trim is installed. If you want to avoid rework, think about the stair as a system: structure first, code second, finishes last. That order leads to the final planning pass.
The sequence that keeps the remodel clean
If I were planning this in my own home, I would work in a strict order: confirm whether the job is cosmetic or structural, measure the finished geometry, check local code, fix any squeaks or framing issues, and only then pick the visible finishes. That sequence keeps the budget honest and prevents the common mistake of decorating a problem instead of solving it.
- Define the scope in one sentence.
- Measure the stair after the final floor and wall layers are accounted for.
- Confirm permit and code questions before ordering materials.
- Repair structure, then install rails, runners, lighting, and trim.
- Finish with decor so the last decisions are the easiest ones to change.
For most homes, the right approach is not choosing between beauty and safety. It is building the stair so both work at the same time, which is why I start with the opening, then move to the stairs themselves, and only then focus on styling.