For me, adding molding to walls is one of the fastest ways to give a plain room structure, because trim adds shadow lines and makes the architecture feel deliberate. In practice, the best results come from three things: choosing the right profile, mapping the wall before you cut, and finishing the joints so the trim looks built into the room. I’m focusing on the parts that matter most in a real DIY project, including cost, layout, and the mistakes that usually make a wall look amateur.
What matters most before the trim goes on the wall
- Pick a profile that fits the room’s height and style instead of chasing every trend.
- Measure, tape out, and test the layout before you buy or cut anything.
- Plan for 10% to 15% extra material to cover offcuts and mistakes.
- Fasten trim to studs where possible, then use adhesive, filler, and caulk for a clean finish.
- Keep spacing consistent. Uneven reveals are the fastest way to make the work look rushed.
Choose the molding profile that suits the room
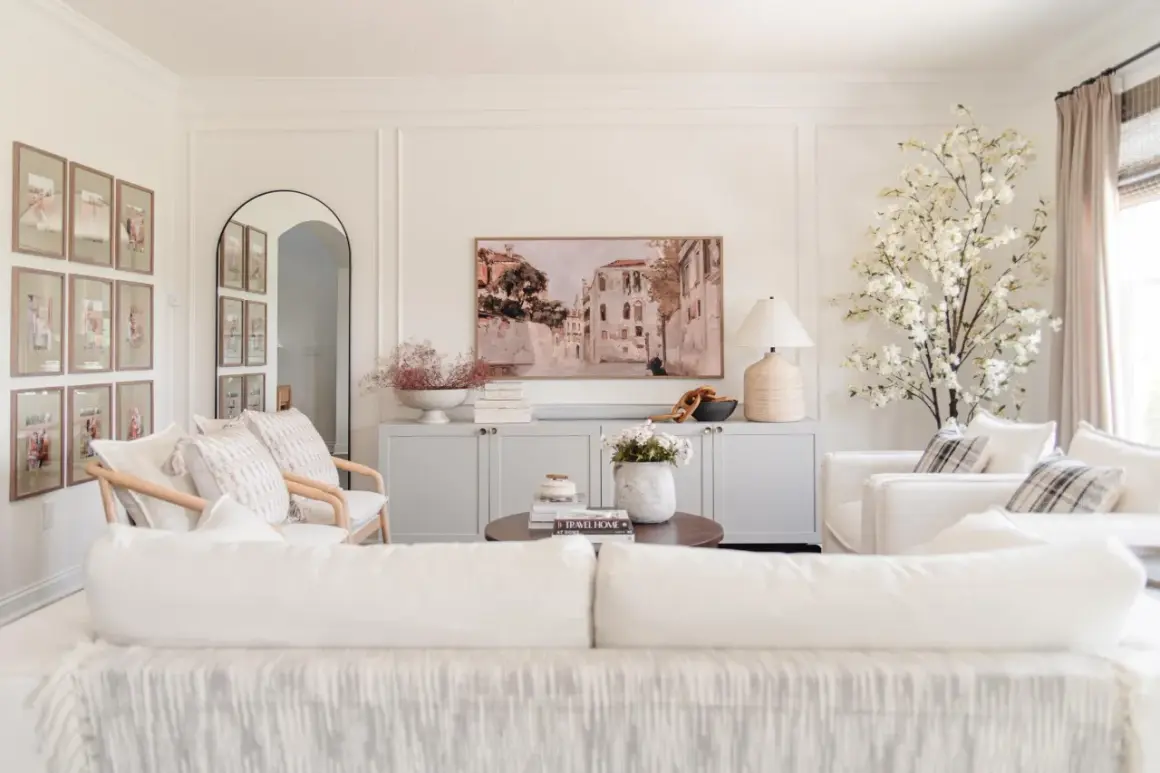
I start by asking what the trim should do. Some profiles quietly sharpen a room; others become the feature. If the wall is already busy with furniture, windows, or artwork, I usually prefer a slimmer, paint-grade molding. If the space feels flat and plain, a more defined profile earns its keep.
| Profile | Best for | What it does well | Watch out for |
|---|---|---|---|
| Picture frame molding | Bedrooms, dining rooms, and long hallways | Adds rhythm and architecture without taking over the wall | The spacing has to stay consistent or the pattern looks off |
| Board and batten | Accent walls, entryways, and kids’ rooms | Creates a stronger vertical line and a more modern farmhouse feel | Too many battens can make a room feel busy |
| Chair rail with panels | Taller rooms and more formal spaces | Breaks a wall into balanced zones and gives the room a tailored look | The rail height has to make visual sense or it feels arbitrary |
| Crown molding | The transition where wall meets ceiling | Softens the ceiling line and finishes the room | Overhead cuts are less forgiving than standard wall trim |
In small rooms, I usually keep profiles narrow and paint them the wall color so the trim feels architectural instead of ornamental. Once the profile is chosen, the next mistake to avoid is guessing at spacing.
Plan the layout before you buy the first board
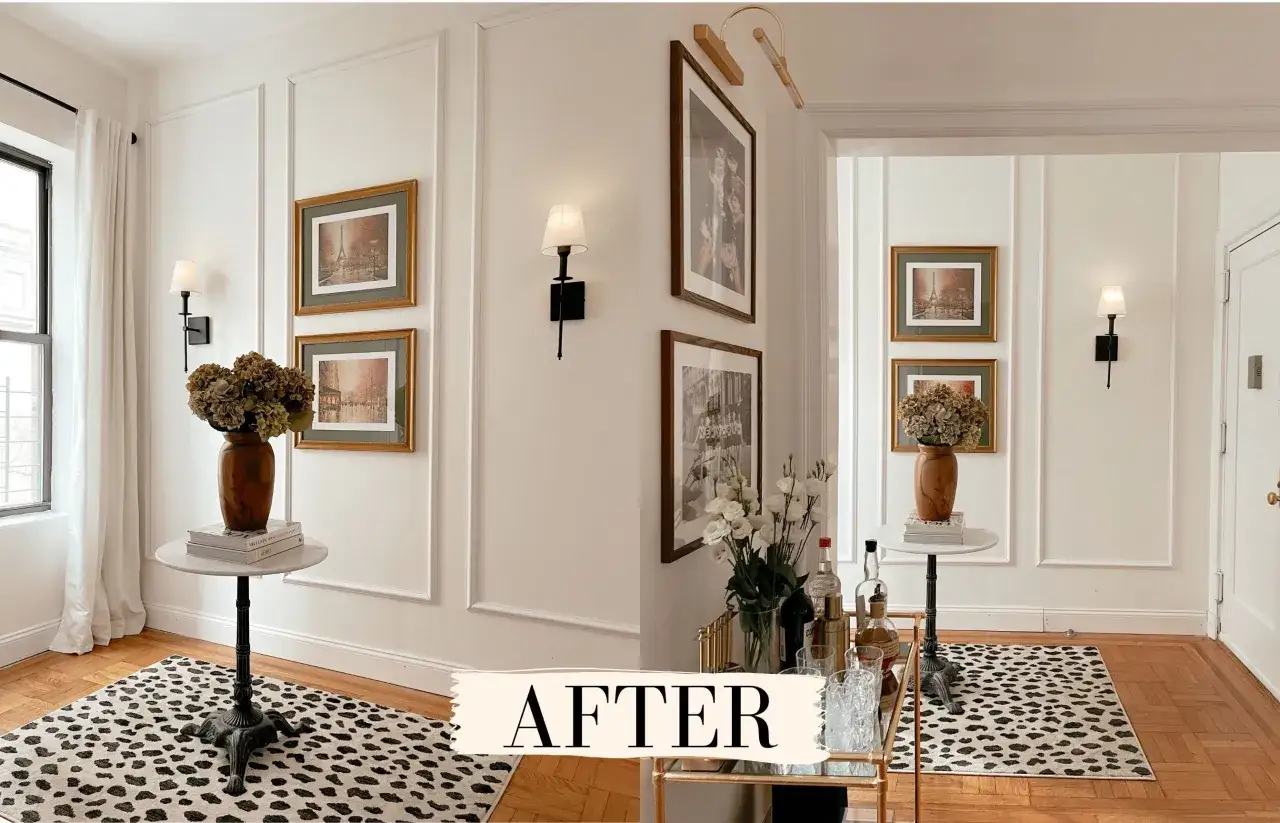
Good trim work is mostly layout. I measure the wall height and width, locate outlets and switches, and sketch the full pattern on paper before I touch a saw. That extra step matters because wall molding is unforgiving: if one frame is off by half an inch, the imbalance shows immediately.
For picture-frame molding, This Old House recommends keeping the spacing between frames consistent, typically around 2.75 to 3.5 inches, with the space above and below reaching up to 4 inches. For board and batten, Lowe’s suggests starting with battens spaced about 10 to 12 inches apart on center. I treat those as starting points, not rules carved in stone, because furniture placement, vents, and outlets often deserve a little adjustment.
- Measure the wall twice and note every interruption.
- Use painter’s tape to mock up the pattern at full scale.
- Buy boards in 8-, 10-, or 12-foot lengths that reduce waste.
- Add about 10% extra material, or at least two spare boards on a larger job.
- If the room has multiple walls, keep the reveal measurements identical everywhere they repeat.
That planning work is what keeps the project from turning into a puzzle on the floor, and it leads directly into the part where most DIYers rush: the actual install.
Install the trim in a clean, repeatable sequence
When I install trim, I think in this order: prep the wall, establish the first line, fasten the boards, then clean up the joints. Skipping ahead almost always creates more touch-up work later. If the wall is textured, damaged, or newly patched, smooth and prime the area first so the molding sits flat and the paint line stays crisp.
- Remove covers, mark studs, and shut off power if you’ll work near outlets or switches.
- Prime or prefinish the trim before cutting if the final color is already decided.
- Cut one test piece and confirm the fit before committing to a full run.
- Use a level and a spacer block so repeated gaps stay identical.
- Fasten the trim into studs where possible, and use adhesive only as support, not as the main hold.
- For long runs, use a scarf joint or another clean splice instead of forcing a short piece into place.
That sequence works for most interior trim projects, from simple battens to more decorative panel molding. The goal is not just to attach wood to drywall; it is to make every line look intentional.
Finish the joints so the wall looks built in
The finish work is where the trim either disappears into the room or loudly announces itself. I use wood filler for nail holes and sandable gaps, then caulk for the tiny seams where trim meets drywall. Caulk is for hairline movement and visual cleanup; filler is for places you want to smooth and paint over.
My usual order is simple: fill, sand, caulk, touch up. If the trim is paint-grade, I like to prime it before installation when possible, then do a final paint pass after the caulk dries. That saves time and makes the edges sharper. If you are using stained wood, test the finish on offcuts first, because the grain and the joint lines will read very differently once the room is done.
One rule I do not bend: if the gap is big enough to notice from across the room, I fix the board alignment instead of burying it in caulk. Large seams usually mean the layout, wall flatness, or cut needs attention.
Once the surface work is handled, the next question is whether the project fits the budget and the amount of time you actually want to spend on it.
Know the real costs before the first cut
Angi’s 2026 pricing puts basic trim materials at roughly $0.50 to $10 per linear foot, while professional installation can average about $1,388 and stretch from roughly $200 to $7,500 depending on complexity, prep, and finish work. That spread is wide because trim is one of those projects where corners, ceiling height, and detailing drive labor as much as raw material does.
| Material | Typical cost per linear foot | Best use | Tradeoff |
|---|---|---|---|
| MDF | $1 to $3.50 | Painted wall trim and budget feature walls | Doesn’t love moisture |
| PVC | $0.50 to $5 | Bathrooms, laundry rooms, and humid spaces | Limited stain options |
| Wood | $1 to $10 | Most interior trim projects | More expensive and more variable |
| Polyurethane | $2 to $6 | Lightweight painted profiles | Less traditional feel |
| Custom or ornate profiles | $10+ | Historic or high-end rooms | Usually worth professional installation |
If I’m choosing between DIY and hiring out, I look at three things: how many corners the room has, whether the walls are straight, and whether the profile needs careful mitering. A simple bedroom wall is one thing. A room with tall ceilings, uneven plaster, or a lot of windows is another. A confident DIYer with a saw, nailer, level, caulk gun, and patience can handle a straightforward accent wall over a long weekend, but a complicated room can eat the savings fast.
The details that keep the trim looking intentional
What makes wall trim feel expensive is usually restraint. I keep the spacing consistent, align the design with doors or focal points, and avoid profiles that compete with the room’s architecture. If the room is small, slimmer trim and a softer paint contrast usually look better. If the room is larger, the molding can carry a little more visual weight without feeling crowded.
- Match the trim width to the scale of the room, not just to the trend you like.
- Keep one spacing standard across every repeating wall.
- Use blue painter’s tape before cutting anything if the layout feels uncertain.
- Hide problem areas with design, not with guesswork.
- Choose a finish that matches the rest of the house, especially in open-plan spaces.
When I’m deciding whether a wall is finished, I look at it from the doorway first, then from where people actually sit or walk. If the lines read clean from those angles, the work is doing its job. That is the real payoff of adding trim: the room stops feeling like a blank box and starts feeling composed.