
Limewash is one of those finishes that looks simple until you understand how much it changes a wall’s character. This guide explains what limewash is, where it works, how it compares with paint, and what to expect before you use it in a renovation or DIY project. I’m focusing on the practical side: materials, surface prep, cost, durability, and the design decisions that determine whether the result feels refined or unfinished.
The fast version of limewash
- Limewash is a mineral coating made from lime and water, sometimes with pigments added for color.
- It creates a soft, matte, slightly cloudy finish that lets masonry and plaster breathe.
- It works best on porous surfaces such as brick, stone, stucco, and lime plaster.
- Compared with paint, it is less about perfect coverage and more about texture, depth, and patina.
- It is a strong choice for interiors and exteriors when you want an old-world look without a glossy or plastic surface.
- It is not the right answer for sealed, glossy, or heavily scrubbed surfaces that need a hard coating.
What limewash actually is
Limewash is a traditional finish made primarily from hydrated lime and water. As it dries, it reacts with carbon dioxide in the air and slowly turns back into a mineral skin on the surface. That is a big reason it behaves differently from latex or acrylic paint: it does not sit on top of the wall as a sealed film, but becomes part of the surface in a much softer, more breathable way.
The look is usually matte, chalky, and gently variegated. I would describe it as a finish with movement rather than a flat color. On brick, for example, you still see texture, joints, and slight tonal shifts. On plaster, it can read almost velvety. That natural variation is not a flaw; it is the point.
It is also worth separating traditional limewash from products sold as “limewash paint.” Some modern products are formulated for easier application, broader surface compatibility, or more predictable color. They often mimic the look well, but they are not always the same as a simple lime-and-water mix. If you are choosing one for a project, read the label carefully and do not assume every product will behave like old-school limewash.
That breathability is the main reason limewash keeps showing up in renovation work, and it leads straight to the next question: where it actually performs well.
Where it works best and where it struggles
Limewash shines on porous, mineral-based materials. Think brick, stone, stucco, render, adobe, and lime plaster. These surfaces can absorb the coating, let it bond properly, and give you that layered, softened finish people usually want. In the right setting, limewash makes a wall feel quieter and more architectural at the same time.
It is less reliable on surfaces that have already been sealed or made nonporous. Glossy paint, tile, metal, plastic, and many previously coated walls do not give traditional limewash anything to grip. If water beads on the surface, that is usually a warning sign. The finish may sit poorly, dry unevenly, or wear off too quickly.
- Best fit: unsealed brick, stone, stucco, lime plaster, and other porous masonry.
- Possible with the right product: some primed interior drywall or previously coated walls, if the manufacturer specifically allows it.
- Risky: glossy paint, sealed masonry, tile, and any surface that must remain highly washable.
- Usually not worth it: high-splash or high-scrub zones where a hard, wipe-clean finish matters more than texture.
One nuance matters here: limewash is not the same as a moisture fix. Because it is breathable, it can be a better choice than a nonbreathable coating on masonry, but it does not solve structural water problems. If the wall is damp because of leaks, trapped moisture, or failing flashing, the finish is not the real issue. The wall needs to be corrected first. Once that is clear, comparing limewash with other common finishes becomes much easier.
How it compares with paint and whitewash
People often group limewash, whitewash, and paint together because they all change color and soften a surface. In practice, they solve different problems. Paint gives you the most even coverage and the easiest wipe-down. Whitewash is usually a lighter, more diluted look. Limewash sits in the middle from a design point of view, but it is the most distinct from a building-material standpoint because it stays breathable and mineral-based.
| Finish | Look | Durability | Breathability | Best use |
|---|---|---|---|---|
| Limewash | Matte, chalky, softly varied | Long-lasting, but it weathers and can fade | High | Brick, stone, plaster, and design-driven interiors |
| Paint | More uniform and controlled | Usually more scrub-resistant | Lower unless specifically formulated otherwise | Walls that need a consistent color and easier cleaning |
| Whitewash | Lightened, washed-out, often less mineral in feel | Depends on the product, but often more decorative than structural | Varies widely | Casual, rustic, or decorative effects |
If I had to simplify the decision, I would put it this way: choose paint when you want control, choose limewash when you want atmosphere, and choose whitewash when you want the look but not necessarily the same building-material performance. Once you know that, the next step is deciding whether your wall can take the finish cleanly and how to apply it without fighting the material.
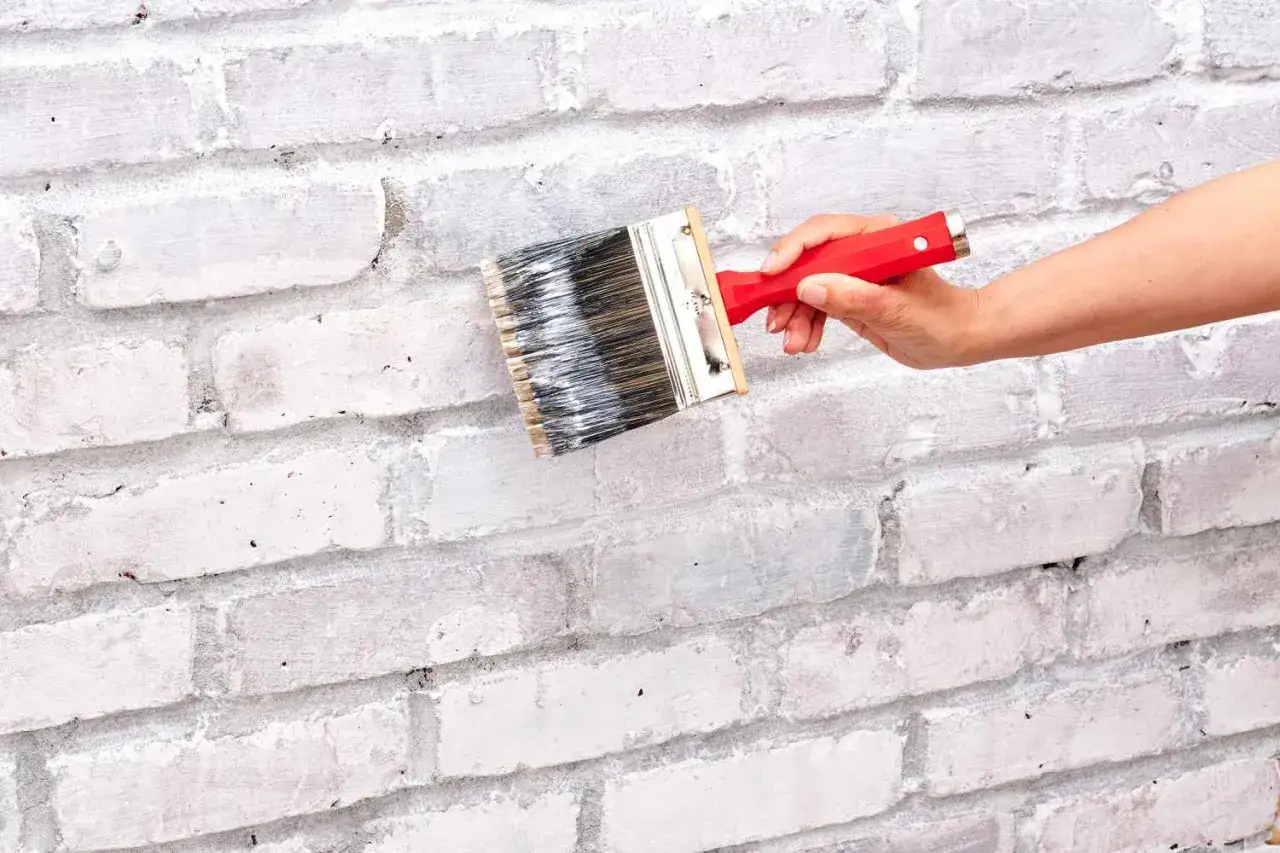
How to apply it without fighting the surface
The application process is straightforward, but the details matter. Limewash rewards patience and a light hand. If you try to force full coverage too quickly, you usually end up with streaks, patchiness in the wrong places, or a finish that looks dead instead of nuanced.
- Test a small area first. This tells you how the surface absorbs the coating, how fast it dries, and how much of the underlying material will still show through.
- Clean and repair the wall. Remove dust, loose debris, and failing coatings. Fill obvious cracks or damaged joints before you start.
- Dampen porous surfaces lightly. A little moisture helps the wall absorb the limewash more evenly. Do not soak it.
- Apply thin coats. Use a masonry brush, block brush, or a sprayer if the product allows it. Thin coats are easier to control and usually look better than one heavy pass.
- Let each coat dry before deciding on the next one. Limewash often looks lighter after it dries, so judging it too early is a common mistake.
- Stop before it looks overworked. The best finishes usually keep some variation. If every trace of movement disappears, the surface can start to resemble flat paint instead of limewash.
I would also wear gloves, long sleeves, and eye protection. Fresh lime products are alkaline and can irritate skin and eyes, which is easy to forget when the finish itself looks so soft. Two other mistakes show up constantly in DIY jobs: applying to a surface that is too dry and hot, and trying to seal the finish with a nonbreathable topcoat. Both can shorten the life of the result. Once the process makes sense, the practical question becomes money and maintenance.
What it costs and how long it lasts
For a DIY project, limewash can be relatively affordable because the raw materials are inexpensive. A traditional mix made from hydrated lime and water is far cheaper than many specialty coatings, while pre-mixed limewash products cost more but save time and reduce guesswork. In the U.S., professional work often lands somewhere around $1.50 to $6 per square foot, with surface prep, access, and the number of coats pushing the price toward the higher end.
- DIY materials: inexpensive if you are mixing from hydrated lime, though tools, pigments, and prep supplies add up.
- Ready-made products: more convenient, but usually priced well above basic wall paint.
- Coverage: on porous masonry, one gallon can cover roughly 200 to 250 square feet in light coats, but absorbency changes that quickly.
- Longevity: exteriors often need refreshing every 5 to 7 years, sometimes longer in mild conditions and sometimes sooner on exposed walls.
Maintenance is less about scrubbing and more about touch-ups. Limewash does not chip in the same way paint does, but it can fade, chalk, or wear unevenly over time. On interiors, especially low-traffic walls, that aging can be part of the appeal. On exterior brick, the weathering pattern can be beautiful if you expect it; frustrating if you wanted a permanent uniform coat. That is why I think the smartest projects are the ones that choose the finish for the right reasons, not just because it is trending.
The choices that make a limewashed finish feel intentional
The difference between a beautiful limewash project and a muddy one usually comes down to three decisions: how much of the substrate you want to show, how the room is lit, and how the finish connects to the rest of the space. I like limewash most when the wall still reads as a wall made of something real. If every trace of the base material disappears, you lose some of the character that makes the finish worth choosing.
- Test in daylight and evening light. Limewash can shift a lot depending on natural light, warm bulbs, and shadow.
- Decide how soft you want it to feel. More transparency shows brick or plaster texture; more coats give a denser, more uniform result.
- Match it with quieter materials. Natural wood, linen, matte metal, plaster, and stone usually support the look better than glossy finishes do.
- Use it where aging is acceptable. Bedrooms, living rooms, entry walls, fireplaces, and calm exterior elevations tend to suit it better than high-wear zones.
If your goal is a crisp, washable, low-maintenance surface, paint is probably the better answer. If your goal is depth, softness, and a finish that feels tied to the building rather than laid over it, limewash is hard to beat. That is the real value of the material: it changes the mood of a space without pretending the wall has become something it is not.