Fresh tile should look crisp, not chalky. Grout haze is the cloudy film that can sit on the surface after grouting, and if you leave it alone too long, it becomes harder to remove and easier to damage the finish while trying. In this guide I cover how to recognize it, which cleaner belongs on ceramic, porcelain, stone, or epoxy work, and the mistakes that turn a quick cleanup into a repair job.
What matters most when that cloudy film shows up after grouting
- Start gently. A dry microfiber wipe or cheesecloth often removes light residue before you reach for chemicals.
- Match the cleaner to the surface. Acid-based products work for some cement residue, but not for marble, limestone, or travertine.
- Epoxy behaves differently. It needs faster cleanup and a dedicated remover, not the same routine as cement grout.
- Water management matters. Too much rinse water is one of the fastest ways to leave a film behind.
- Test before you commit. Always check a small hidden area first, especially on textured or natural stone tile.
What the cloudy film actually is and why it appears
The dull film is usually a leftover mix of fine grout particles, binding agents, and rinse-water residue sitting on the tile face instead of in the joints. On a kitchen backsplash it can make a new installation look dusty; on a shower wall it can flatten the color and hide the tile pattern you picked for a reason.
I usually separate the problem into four common causes:
- Too much water during cleanup. The sponge picks up slurry and spreads it back across the tile.
- Late cleanup. Once the residue hardens, it stops behaving like a wipe-off mess and starts acting like a bonded film.
- Porous or textured surfaces. Tiny pits and grooves trap residue that smooth tile would release.
- Mineral deposits or efflorescence. Sometimes the problem looks like haze but is actually salts migrating from the grout or setting materials.
That distinction matters because the fastest fix on porcelain is not always safe on stone, and a residue problem is handled differently from a true grout-color issue. Once you know which kind of film you are dealing with, the cleanup method becomes much less guesswork.
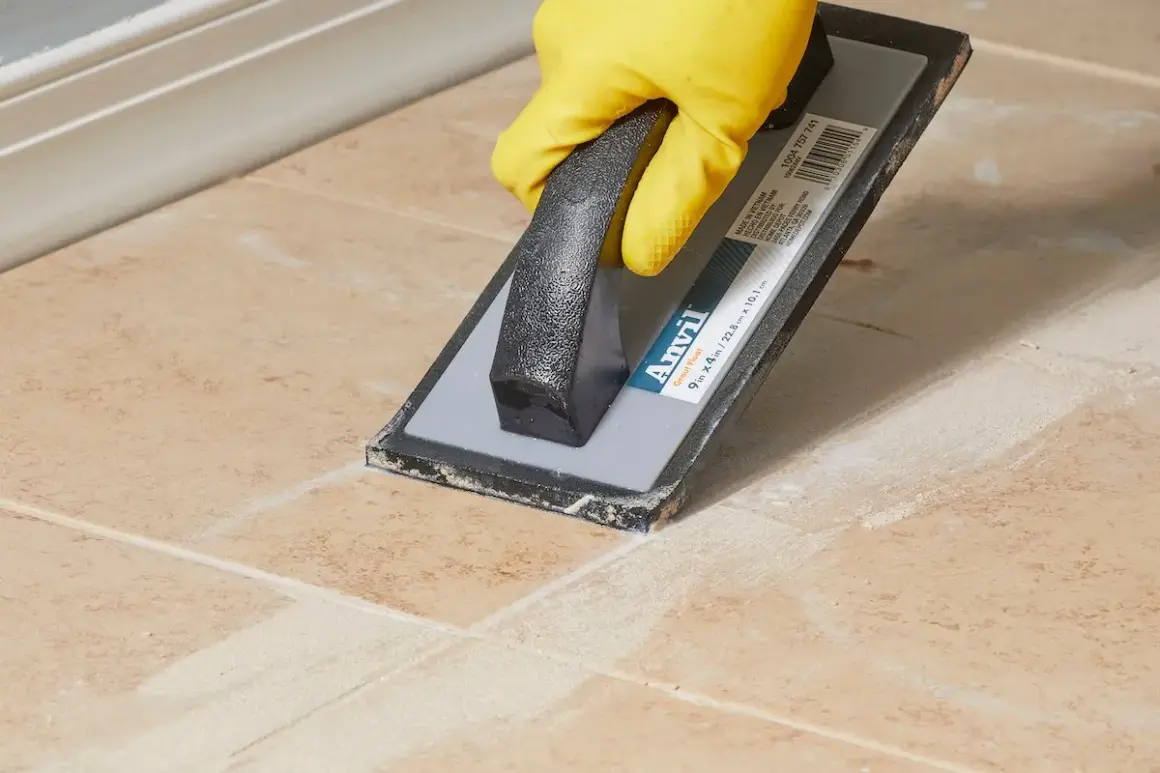
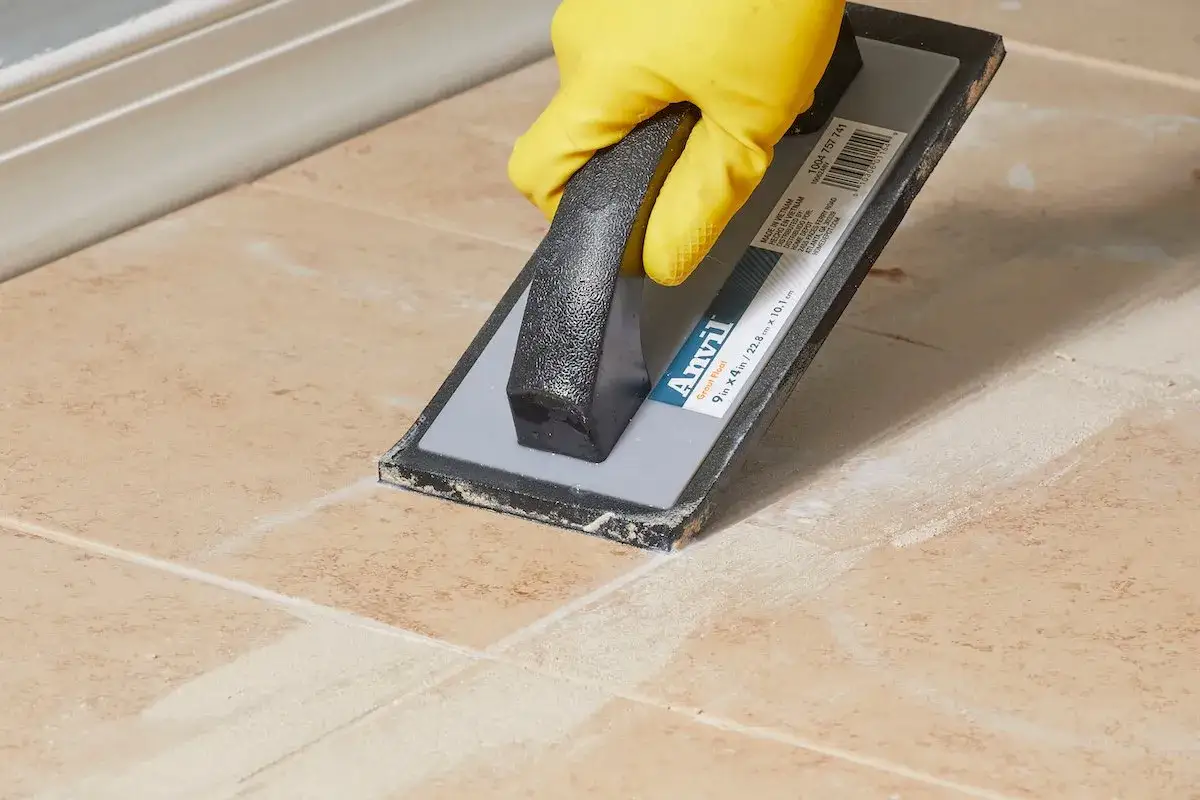
The safest way to remove it from most tile
For most ceramic and porcelain installations, I start with the least aggressive option and only step up if the film survives a full dry-down. The goal is to remove residue without pushing dirty water deeper into the joints or scratching the glaze.
- Let the grout firm up first. Do not keep scrubbing while the joints are still soft and mobile.
- Dry-buff the surface. Use a clean microfiber cloth or cheesecloth and work in small sections.
- Wipe with clean water and a neutral cleaner. Keep the cloth damp, not wet, and change rinse water often.
- Inspect in angled light. Side lighting reveals streaks that overhead light hides.
- Escalate only if needed. Move to a purpose-made haze remover once the grout is cured enough for that product.
- Rinse and dry fully. Residue often looks worse while the tile is still damp.
Custom Building Products notes that some grout formulas can be dry-buffed after only a few hours, while stronger cleanup methods are reserved for later cure stages, but that timing depends on the exact product. I treat that as a reminder to read the label first, then work from gentle to stronger rather than the other way around. If the first pass does not clear it, the next question is not force, it is chemistry.
Choose the right cleaner for the surface
The cleaner has to match both the tile and the kind of residue. A pH-neutral cleaner handles light, fresh film; a cement haze remover or sulfamic acid cleaner is for cured cement residue on acid-resistant surfaces; epoxy haze remover is for resin-based cleanup; and a white nylon pad helps on textured tile where cloth alone is not enough.
| Cleaner type | Best for | Watch out for | My rule of thumb |
|---|---|---|---|
| pH-neutral cleaner | Fresh, light residue on ceramic or porcelain | May not cut cured cement film | Use it first when the surface is only lightly dulled |
| Sulfamic acid or cement haze remover | Cured cement residue on acid-resistant tile | Not for marble, limestone, travertine, or other acid-sensitive stone | Use it only when the grout has cured enough and the tile can take it |
| Epoxy haze remover | Epoxy or urethane residue | Waiting too long makes the cleanup harder | Use it as early as the product instructions allow |
| White nylon pad or microfiber | First-pass cleanup and textured tile | Skip abrasive pads on polished finishes | Good for lifting residue without scratching |
My strongest advice here is simple: do not reach for vinegar by default. It may seem like a universal fix, but on natural stone it can etch the surface, and even on grout it is not something I would use as routine maintenance. Once the cleaner matches the material, the real question becomes whether the residue is old enough to justify a stronger product.
When a stronger cleaner is worth it
There is a point where a second careful pass is sensible and a stronger cleaner is justified. I make that call when the tile still looks uniformly cloudy after drying, when a fingertip rub leaves a powdery drag, or when the film survives a neutral cleaner and a clean-water rinse.
- Use a stronger cleaner when the residue is cured. A gentle wipe will not solve bonded cement film.
- Do not over-apply acid. More product is not better; dwell time and controlled scrubbing matter more.
- Pre-wet the surface if the label calls for it. That helps reduce instant grab on porous areas.
- Rinse thoroughly. Leftover cleaner can look like haze all by itself once the floor dries.
- Stop if the tile reacts. Etching, color change, or softness is your signal to back out and reassess.
Acid-based cleaners belong in the cement-residue lane, not the natural-stone lane, and that is the line I would not cross on marble, limestone, or travertine. A stronger cleaner can save a finish, but only when the surface can safely take it. Some surfaces and grout systems change the rules entirely, especially stone and epoxy.
Natural stone, textured tile, and epoxy grout need different rules
Natural stone
Stone is where a lot of DIY cleanup goes wrong. Polished marble, limestone, and travertine are especially vulnerable to acids, so I would keep those surfaces on neutral or stone-safe products unless the cleaner label explicitly says otherwise. On softer stone, a faint film is annoying; etching is much worse.
Textured or matte tile
Textured porcelain, tumbled stone, and matte ceramic trap residue in tiny pockets that a flat wipe will not reach. Here I slow down, use a soft nylon brush, and work in short passes rather than trying to scrub harder. A rough pad can flatten the finish or leave shiny marks that are harder to hide than the original haze.
Read Also: Polished Nickel vs Chrome: Which Finish is Right For You?
Epoxy grout
Epoxy residue is its own category. MAPEI’s guidance treats it as time-sensitive: remove it as soon as the grout manufacturer allows, ideally after the surface has dried for at least 12 hours and within the first 24 hours when possible. If it has been sitting for more than 7 days, you may need a much stronger stripper rather than a standard haze remover. That is why I treat epoxy cleanup as part of the installation, not a task to push to the end of the week.
Once you know the surface type, the next opportunity is prevention, because the easiest film to remove is the one you never let set in place.
How to prevent it on the next installation
- Mix grout correctly. Too much water in the mix weakens the batch and leaves more residue behind.
- Work in smaller sections. I like to grout only as much tile as I can clean before the surface starts to skin over.
- Keep the sponge clean. Rinse often and change water before it turns cloudy.
- Use less water than you think you need. A damp sponge cleans better than a soaked one.
- Finish with a dry buff. A microfiber cloth or cheesecloth can catch the last film while the grout is still forgiving.
- Pre-seal porous tile when the product allows it. On some stone and textured surfaces, that makes cleanup much easier.
- Watch the room conditions. Heat, airflow, and humidity all affect how fast the surface firms up.
The pattern is consistent: cleaner water, faster attention, and less reworking of the same area. If I had to choose one habit that prevents the most trouble, it would be stopping to clean the tile face before the joints fully harden on top.
The last check I make before calling the job finished
Before I move furniture back or declare the room done, I inspect the tile in daylight and then again with side lighting. That second look catches dull patches, cleaner streaks, or a thin film that was invisible while the surface was still damp. If the tile still reads hazy after a proper rinse and full dry-down, I stop treating it as a simple cleanup issue and start checking for residue type, cure time, or surface compatibility.
I also make sure nothing else is creating the same cloudy look: leftover sealer, mineral deposits, or efflorescence can mimic grout residue and come back after an overzealous scrub. A clean grout line should read as a detail in the room, not a film sitting on top of it, and the best result is the one that looks effortless because the cleanup was done with restraint.