Paint can turn a staircase from a background element into one of the strongest design features in a home, whether it is a foyer run, basement access, or porch steps. The real challenge is not the color alone; it is choosing a finish that looks intentional, holds up to daily traffic, and still feels safe underfoot. In this article, I cover the prep that prevents peeling, the product choices that fit wood or concrete, and the design decisions that make the result feel polished rather than rushed.
The few choices that matter most before you start
- Clean, sand, repair, and prime first; that sequence matters more than the paint color.
- Wood treads, concrete steps, and exterior stairs need different coatings, so match the product to the surface.
- Traction is not optional on steps, especially if you choose a smoother sheen or paint outdoor stairs.
- Plan for cure time, not just dry time; some stair coatings need several days before heavy use.
- If the home was built before 1978, check for lead risk before sanding or scraping.
- The best-looking staircase usually balances contrast, restraint, and easy maintenance.
Why painted stairs feel so different from stained wood
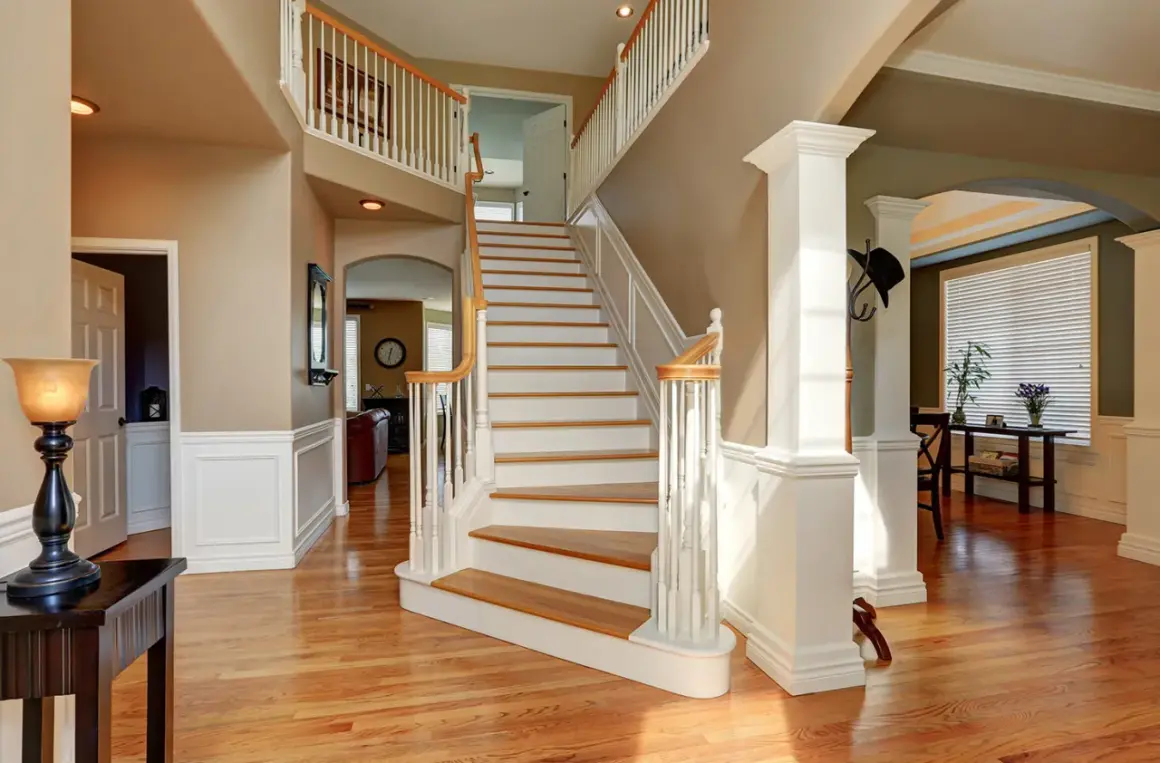
Paint changes a staircase in a way stain usually cannot. Stain keeps the grain visible, which is beautiful when the wood itself deserves to be the star, but paint can quiet a busy hallway, brighten a dark entry, or make an old stair run look like part of the architecture instead of a leftover utility feature. I like that flexibility because it lets a staircase either blend in or become a deliberate visual anchor.
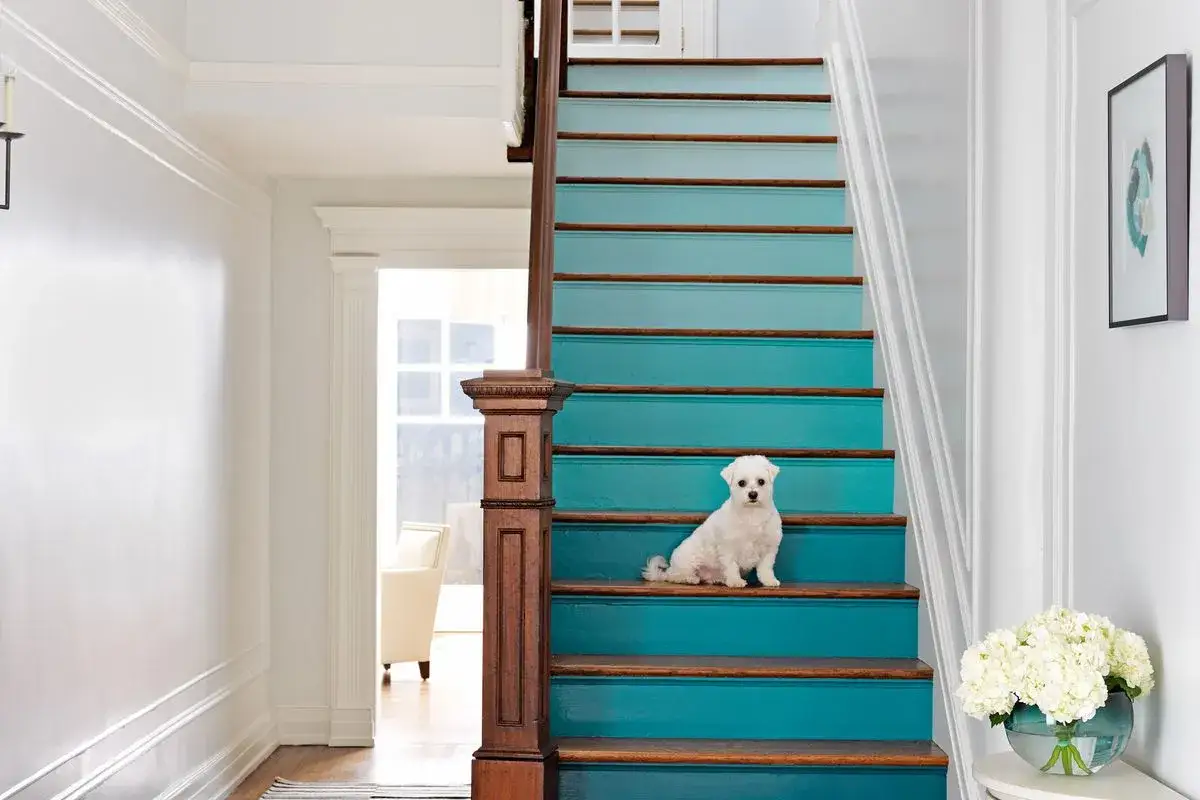
The biggest aesthetic decision is contrast. Light risers with darker treads read crisp and classic; a monochrome stair treatment feels calmer and more modern; and a stronger color can make a plain landing feel custom without touching the rest of the room. In homes that already have patterned floors, layered rugs, or detailed millwork, I usually prefer a restrained stair palette so the space does not compete with itself.
That design payoff only lasts when the surface underneath is stable, so I always start with prep before I start thinking about color.
Prep is the part that decides whether it lasts
Good stair painting is mostly preparation, not application. I clean first, then scuff-sand, then repair, then prime. On a worn stair run, that sequence is what keeps the new finish from chipping at the nosings and edges after a few months of shoes, vacuuming, and everyday use.
For older homes, the safety step comes before everything else. The EPA warns that renovation or painting work in pre-1978 homes can create hazardous lead dust if lead-based paint is present, especially when surfaces are disturbed. If that is even a possibility, I test first and follow lead-safe work practices instead of sanding aggressively and hoping for the best.
- Remove runners, hardware, and anything that gets in the way.
- Wash the surface with a degreaser so you are not sealing in hand oils or household grime.
- Scuff-sand with 120-grit, then smooth with 220-grit so the next coat can grip without leaving deep scratches.
- Fill dents, nail holes, and open seams; on wood stairs, small cracks around joints are where wear usually begins.
- Vacuum thoroughly and wipe away dust before primer goes on.
- Prime bare wood, patched areas, and any slick existing finish that needs better adhesion.
I usually split prep and paint into separate days when I can. That keeps me from rushing the primer dry time, which is one of the easiest ways to end up with soft paint that scuffs too soon. Once the surface is clean and bonded, the next choice is the coating itself.
Choose the coating for the material, not just the color
Wood, concrete, and outdoor stairs do not all want the same finish. A product that looks great in a powder room can fail quickly on a porch step or basement run, so I match the coating to the abuse it will take.
| Stair surface | What I reach for | Best sheen or texture | Why it works |
|---|---|---|---|
| Interior wood treads | Bonding primer plus porch-and-floor enamel or a durable floor paint | Satin or low-luster | It cleans well without looking overly shiny or highlighting every dent. |
| Risers, trim, and balusters | Primer plus trim enamel | Satin to semi-gloss | It gives a sharper architectural line and stands up to hand contact. |
| Concrete basement or utility stairs | Concrete-friendly porch or masonry coating | Textured or low-sheen | Concrete needs bite underfoot and a coating that can handle abrasion. |
| Exterior steps | Weather-resistant floor or masonry coating | Textured, ideally with anti-slip aggregate | Sun, moisture, and grit punish smooth coatings much faster than indoor traffic does. |
If extra traction is part of the brief, I look at anti-slip floor products rather than trying to fake it with a higher-gloss finish. Benjamin Moore's Sure Step is a good example of that category: it is built for indoor and outdoor steps, and its cure window shows why patience matters, with light foot traffic after 24 hours and heavier traffic after 4 to 5 days. That kind of timing is the difference between a finish that looks done and one that actually is done.
Once the coating choice is clear, the design details become easier to control instead of guess at.
Design ideas that make the staircase feel intentional
The best-looking stair runs usually do one thing well instead of trying to do everything at once. A staircase is a long vertical object, so the more pattern you add, the more discipline the rest of the room needs. I prefer approaches that feel tied to the house, not floating as a separate DIY moment.
- Tone-on-tone risers create a calm, tailored look. A slightly lighter riser against a deeper tread softens the transition without shouting for attention.
- Classic contrast still works because it is clear and familiar. Dark treads with lighter risers suit homes with painted trim, paneling, or a more traditional entry.
- One-color stair runs are strong in smaller homes. When every step reads as one shape, the staircase feels cleaner and less chopped up.
- Patterned risers can be charming, but they work best when the room around them stays quiet. A stair with too many competing patterns tends to look busy rather than designed.
- Outdoor concrete steps in muted earth tones can connect the house to the landscape and make the entry feel more grounded.
I also pay attention to how the staircase is seen in motion. A finish that looks elegant from the foyer may feel too dark or too glossy halfway up the run, where light changes and the angle shifts. That is why I test color on a full riser, not just on a small chip, and look at it in morning light, evening light, and with the entry door open. Once the palette is set, execution is what keeps the look crisp.
The step-by-step process I use for a clean result
When I want the finish to look deliberate instead of rushed, I keep the process simple and disciplined. Thin coats, clean edges, and enough dry time matter more than trying to force a dramatic result in one afternoon.
- Mask adjoining walls, trim, and any flooring that should stay untouched.
- Prime the repaired areas first, then prime the rest of the stair if the old finish is slick or uneven.
- Paint the risers before the treads when the layout allows it, so you are not reaching across fresh work.
- Use a brush for corners and nosings, then a small roller on flat surfaces to avoid brush marks.
- Apply two thin coats instead of one heavy coat; heavy coats stay tacky longer and wear worse.
- If the staircase is the main route through the home, paint every other tread first so the run stays partly usable while curing.
- Let the coating cure fully before moving rugs, heavy baskets, or stair runners back into place.
For a typical interior project, I treat the drying time on the can as the minimum, not the goal. The surface may feel dry long before it is truly ready for daily traffic, and that difference is where most first-time stair projects go wrong. The final polish comes from avoiding the mistakes that damage the finish after all that work.
The mistakes that make the result look tired fast
Most bad stair finishes do not fail because of color choice. They fail because the prep, product, or timing was off by just enough to matter.
- Skipping deglossing or sanding leaves the new coat sitting on top of the old one instead of bonding to it.
- Using a slick high-gloss finish on treads can make the surface feel less secure and show every scuff.
- Ignoring moisture on exterior stairs traps water under the coating and speeds up peeling, blistering, and cracking.
- Rushing the recoat window can cause dragging, soft spots, and a finish that never quite hardens evenly.
- Overlooking loose boards, spalled concrete, or soft wood means the paint becomes a bandage instead of a fix.
- Painting in a pre-1978 home without checking for lead can turn a cosmetic update into a dust-control problem.
When I see a stair project go bad, it is usually because someone treated the paint like the whole solution. It is not. Paint is the finish layer, and it only performs as well as the structure and prep underneath it. That is the last filter I use before calling a staircase finished.
The details I would check before I call the staircase done
Before I sign off on a stair project, I do one last pass in real-world conditions. I look at the color from the bottom of the stairs, from the landing, and from the side light that comes through a nearby window. I also test the feel under bare feet and shoes, because safety and comfort are easier to judge when the coating has cured enough to be honest.
For most homes, the most durable and livable result is not the boldest one. It is the one that balances sheen, traction, and color depth so the staircase supports the room instead of competing with it. If the run is busy and heavily used, I prefer a restrained tread color, a cleaner riser treatment, and a finish I can touch up later without rebuilding the whole thing.
Leave yourself a labeled sample, note the sheen and product you used, and keep a small amount for future repairs. That tiny bit of record-keeping saves time later when a scuff, pet scratch, or moving-day ding needs a quick fix, and it keeps the staircase looking intentional long after the last coat has dried.