Making a rental feel finished is less about dramatic remodeling and more about choosing the right temporary changes. The strongest updates improve light, storage, and comfort while still being easy to remove when you move out. That is where a good plan for rental-friendly upgrades makes the difference between a space that feels borrowed and one that feels intentional.
The smartest upgrades are reversible, visible, and easy to take with you
- Start with the rooms you use most often, especially the kitchen, bathroom, bedroom, and entryway.
- Prioritize changes that improve light, storage, and texture before spending on purely decorative pieces.
- Removable wallpaper, peel-and-stick tile, cabinet hardware, curtains, rugs, and smart lighting usually give the best return.
- Anything involving paint, plumbing, tile, or wiring should be checked against the lease before you touch it.
- Keep every original part in a labeled bag so reversing the change is simple at move-out.
What makes a rental upgrade worth doing
When I evaluate a rental change, I ask a simple question: can it be undone without leaving a trace? If the answer is yes, the upgrade is usually worth considering. That is why I put removable wallpaper, plug-in lighting, tension rods, adhesive decor, freestanding storage, and washable rugs in the safe-to-try bucket.
The gray area is anything that changes the property itself. Cabinet hardware, showerheads, faucets, wall anchors, and fixture swaps may be reversible, but they still sit close enough to the line that I prefer written permission before starting. In most U.S. rentals, the lease matters more than the idea of “temporary,” so it pays to be conservative.
I also like to judge upgrades by surface risk. Smooth painted drywall, flat cabinet fronts, glass, metal, and finished wood are usually the best candidates. Textured paint, damp tile, soft drywall, and greasy kitchen walls are where many temporary products fail, and that failure usually costs more than the project itself. Once you know what belongs in the safe category, the next step is figuring out which changes actually move the needle.
The upgrades that change a room the fastest
Some changes are small on paper but big in practice. I think of these as the “daily-life” upgrades: the ones you notice every morning, every time you cook, or every time you walk in the door. They do not need to be expensive, but they should solve a visible problem.
| Upgrade | Typical cost | Best use | Why it works | Permission |
|---|---|---|---|---|
| Curtains and rods | $40-$200 per room | Bedrooms, living rooms, and awkward windows | They soften hard lines, improve proportions, and make a room feel taller | No, if you use existing holes or tension rods |
| Layered lighting | $20-$150 | Any room with harsh overhead light | Table lamps, floor lamps, and smart bulbs make a rental feel warmer instantly | No, if you stay plug-in |
| Cabinet hardware | $20-$100 | Kitchens and bathrooms | It is one of the cheapest ways to make builder-grade cabinetry look intentional | Usually yes |
| Peel-and-stick wallpaper or backsplash | $30-$200 | Accent walls, kitchen splash zones, and small bath surfaces | It covers the most visible surfaces without permanent work | Usually yes, but test first |
| Rugs and runners | $50-$400 | Floors that feel cold, dated, or visually noisy | They define space and hide a lot of rental wear in one move | No |
| Freestanding storage | $60-$300 | Closets, entryways, and living rooms | Extra shelves, bookcases, and carts add function without drilling | No |
| Showerhead swap | $25-$80 | Bathrooms with weak or dated fixtures | It improves the daily experience in a way decor never will | Usually ask first |
| Window film | $20-$60 | Street-facing windows or rooms that need privacy | It adds privacy and light control without replacing blinds or glass | No |
A note on budget: Bob Vila’s testing shows temporary wallpaper can start around $1 per square foot, which means a single 10-by-10-foot wall can quickly land at about $100 before tools or extra rolls. I take that as a reminder to use wallpaper selectively, not everywhere at once. A focal wall or a small backsplash usually gives a better result than trying to paper an entire apartment. From there, the best move is choosing upgrades by room, because different spaces reward different fixes.
How I would prioritize each room in a typical rental
If you can only improve a few areas, start where the payoff is both visual and functional. In my experience, the rooms that matter most are not always the biggest ones; they are the ones you use repeatedly and feel slightly annoyed by every day.
| Room | First move | Second move | Why I would start there |
|---|---|---|---|
| Entryway | Hooks, a runner, or a slim bench | Mirror or closed storage | It sets the tone immediately and prevents clutter from spreading through the home |
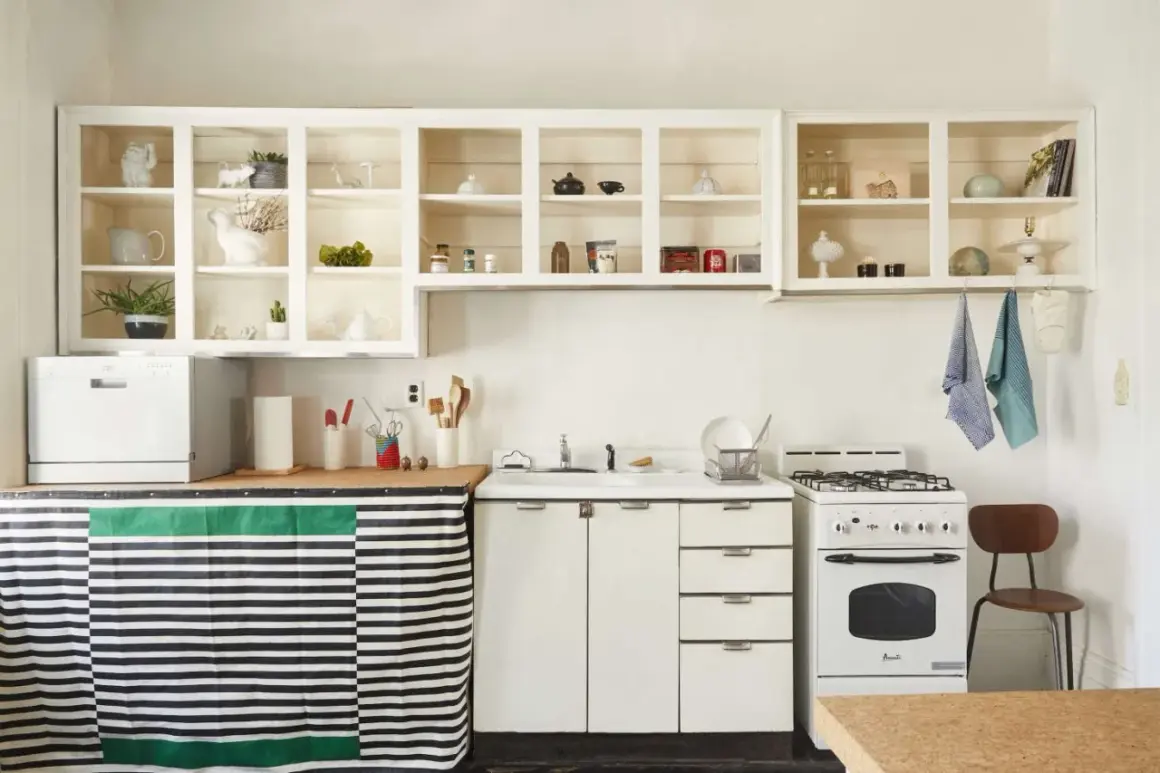
| Kitchen | Cabinet hardware or under-cabinet lighting | Peel-and-stick backsplash | Small changes go a long way because the kitchen is full of hard surfaces |
| Bathroom | Showerhead and towel storage | Mirror lighting or removable wall details | Daily comfort matters here more than in almost any other room |
| Bedroom | Blackout curtains or taller curtain panels | Rug and better bedside lighting | Sleep quality and visual calm are usually the main goals |
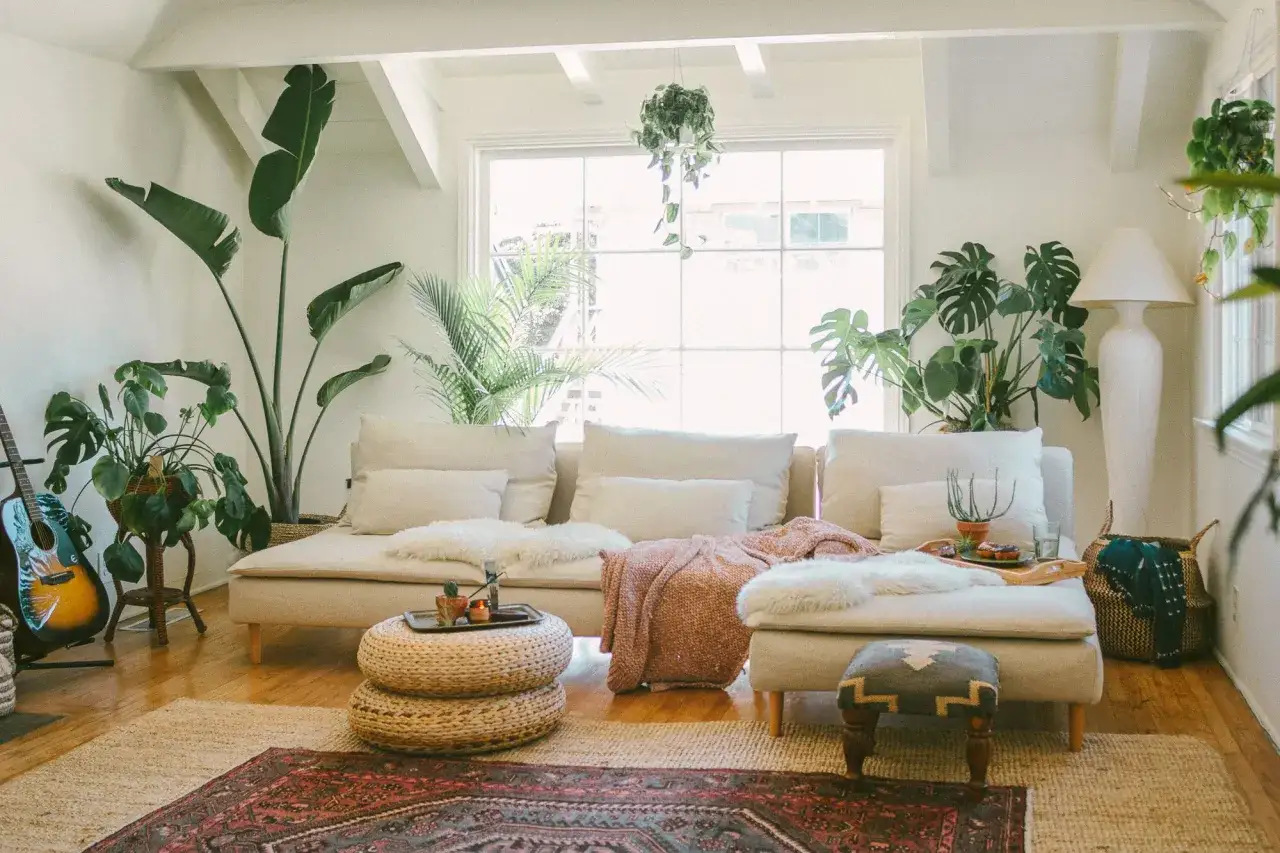
| Living room | Large rug and layered lighting | Art arrangement or a freestanding shelf | This is where proportion and texture make the whole apartment feel more polished |
If a room feels wrong but you cannot name why, I usually look at three things first: the light, the floor, and the storage. Fixing those three often solves more than any single decor purchase. Once the room order is clear, the next question is how much permission you actually need before you start drilling, swapping, or sticking anything to the walls.
What to clear with the landlord before you start
Reversible does not always mean automatic. A lot of rental disputes happen because the change seemed harmless to the tenant but looked like damage to the owner. I would get written approval any time a project touches paint, plumbing, tile, electrical wiring, or anything that might need to be restored before move-out.
The safest way to ask is simple and specific. Instead of saying, “Can I make the place nicer?” try: “May I install removable wallpaper in the bedroom, and if so, do you want me to use a specific product or restore the wall before move-out?” That kind of question shows you are thinking about the property, not just your own convenience.
- Ask whether the original part must be kept and reinstalled later.
- Confirm whether adhesives, screws, or anchors are allowed on that surface.
- Take before photos so you can prove the condition when you moved in.
- Store removed parts in labeled zip bags with the room and fixture name.
- Use email instead of a quick verbal yes if the change is anything beyond decor.
That small amount of paperwork protects you from the expensive kind of “temporary.” Once the permission side is handled, the real challenge becomes spending money in a way that still feels smart six months from now.
How to budget without creating waste
I like to budget rental upgrades in tiers, because the wrong approach is usually all-or-nothing. A rental does not need a full remodel. It needs the handful of changes that make the space work better for the length of time you plan to live there.
| Budget | Best focus | Examples | What it should accomplish |
|---|---|---|---|
| Under $100 | Light and texture | Bulbs, hooks, a tension rod, a small rug, or cabinet pulls for one room | Immediate improvement without committing to a big project |
| $100-$250 | Function and finish | Showerhead, full set of cabinet hardware, runner, or window film | Fix the everyday annoyances that make the apartment feel unfinished |
| $250-$500 | One focal project | Peel-and-stick backsplash, removable wallpaper on one wall, or a larger storage piece | Create a visible before-and-after without making the place hard to reverse |
| $500+ | A full room refresh | Layered lighting, upgraded window treatments, and better storage throughout one space | Make a long-term rental feel deliberately designed |
My rule is simple: spend more on things you can move, reuse, or reinstall. Spend less on anything that only works in one apartment. That is especially true with wallpaper and backsplash work, which can look expensive fast if you try to cover too much surface at once. The budget is only half the story, though. The other half is avoiding the mistakes that make a temporary project feel like a permanent headache.
The mistakes that make temporary changes feel expensive
- Buying for the photo instead of the room. A pretty finish does not help if the room still lacks storage, light, or privacy.
- Skipping surface prep. Dust, grease, and texture are the fastest ways to make adhesive products fail early.
- Using the wrong surface. Peel-and-stick products behave much better on smooth, clean surfaces than on rough or damp ones.
- Throwing away the originals. If you lose the original hardware, showerhead, or fixture parts, the “temporary” change becomes a replacement project.
- Mixing too many finishes. A rental can look chaotic when every room has a different metal, wood tone, or pattern without a clear thread connecting them.
- Ignoring move-out cost. If a change will take half a day to undo and a patch kit to repair, it should earn its place in the apartment.
The best renters’ upgrades are usually the boring ones done well: measured, reversible, and chosen for daily use. That is why I prefer a restrained, room-first approach over a dramatic makeover that needs special cleanup later. With that in mind, here is the order I would personally follow in a plain apartment.
The first moves I would make in a plain apartment
If I walked into a blank rental tomorrow, I would not start with the trendy stuff. I would start with the changes that make the whole place feel calmer and more intentional:
- Swap harsh bulbs for warmer ones and add at least one lamp per main room.
- Hang curtains higher and wider than the window frame if the layout allows it.
- Add one large rug before buying smaller decor pieces.
- Upgrade cabinet hardware or the showerhead only after checking the lease.
- Use one adhesive surface, not five, and make it count.
- Save every original part in a clearly labeled box the day you remove it.
That sequence gives you a room that feels more finished without locking you into work you have to undo later. The goal is not to disguise the rental. It is to make it function better, look cleaner, and still be easy to hand back in good shape when the lease ends.